

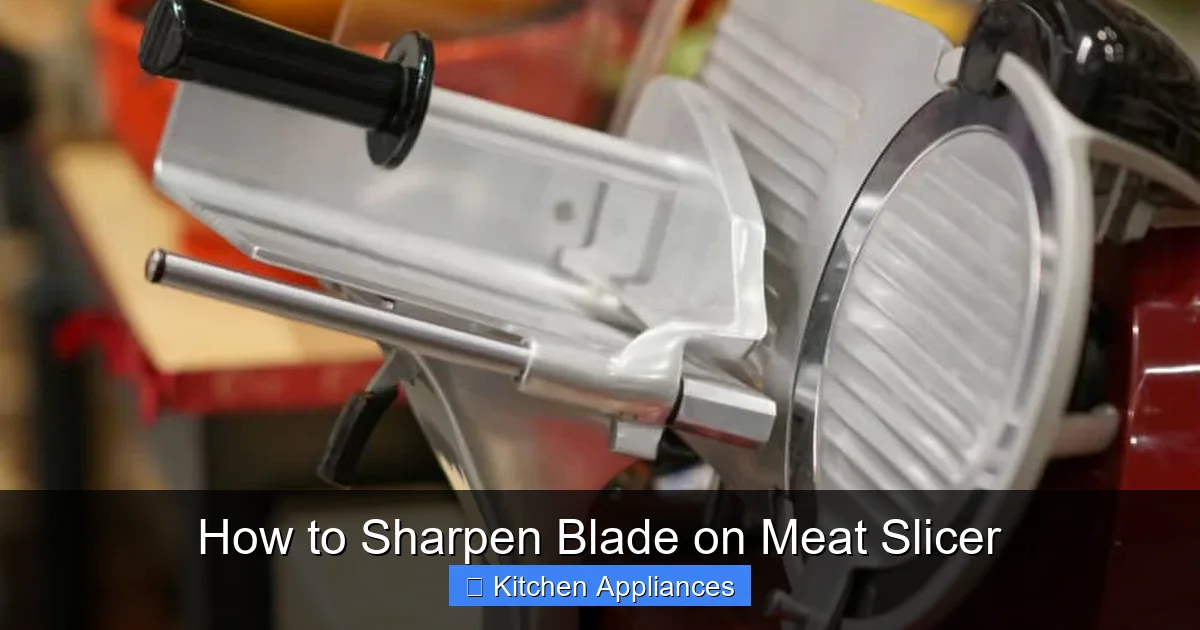
Keeping your meat slicer blade sharp is crucial for safety and performance. This comprehensive guide will walk you through the essential steps of how to sharpen a blade on a meat slicer, ensuring clean cuts and extending the life of your appliance. Proper sharpening makes a world of difference.
Are you tired of your meat slicer struggling to cut through even the simplest cuts of meat? Do your slices come out ragged and uneven, no matter how carefully you operate the machine? If so, it’s likely time to address the heart of the problem: a dull blade. Learning how to sharpen a blade on a meat slicer isn’t just about achieving perfect deli-style slices; it’s also a critical aspect of safe and efficient operation.
A sharp blade cuts with ease, reducing strain on both the slicer motor and the user. It prevents the meat from tearing, ensuring consistent thickness and a professional finish every time. Think of it like using a sharp knife in your kitchen – it’s safer, more effective, and simply a more pleasant experience. Just as you might wonder how to clean a stand mixer to keep it running smoothly, maintaining your meat slicer’s blade is essential for its longevity and performance.
This guide will take you step-by-step through the process of sharpening your meat slicer blade. We’ll cover everything from essential safety precautions to the tools you’ll need and the techniques to get that blade razor-sharp again. Get ready to transform your slicing experience!
Key Takeaways
- Safety First: Always unplug the meat slicer and wear protective gloves before starting any sharpening process.
- Gather Your Tools: You’ll need a sharpening stone or honing steel, a stone holder (optional), and a cleaning cloth.
- Understand Your Blade: Identify the type of blade (serrated or straight) as it influences the sharpening technique.
- Sharpening Technique: Maintain a consistent angle and apply gentle, even pressure across the entire blade edge.
- Honing vs. Sharpening: Understand the difference; honing realigns the edge, while sharpening removes metal to create a new edge.
- Regular Maintenance: Frequent honing is key to maintaining sharpness between full sharpenings.
- Cleanliness is Key: Thoroughly clean the blade and slicer after sharpening to remove metal filings.
Quick Answers to Common Questions
What is the most important safety step when sharpening a meat slicer blade?
The most crucial safety step is to always unplug the meat slicer from the power outlet before beginning any sharpening procedure.
How often should I hone my meat slicer blade?
Honing should be done frequently, ideally after every few uses, to maintain the blade’s sharpness between full sharpening sessions.
Can I use a regular kitchen knife sharpener on my meat slicer blade?
It’s generally not recommended. Meat slicer blades have specific bevel angles and sizes that often don’t match standard knife sharpeners, potentially damaging the blade or not sharpening it effectively.
What grit of sharpening stone is best for a meat slicer blade?
A medium grit stone (around 400-600) is good for initial sharpening, followed by a fine grit stone (around 800-1200) for refining the edge. Consistency in angle is more important than the exact grit.
How can I tell if my meat slicer blade is sharp enough?
A sharp blade will glide through meat with minimal effort, producing clean, uniform slices. You can also test it by carefully trying to slice a piece of paper; a sharp blade should do so cleanly without tearing.
📑 Table of Contents
Why Sharpening Your Meat Slicer Blade Matters
A dull blade on a meat slicer is more than just an inconvenience; it’s a potential hazard and a performance killer. When a blade loses its edge, it doesn’t cut cleanly. Instead, it tears and drags, requiring more force to push the meat through. This increased resistance can put a strain on the motor of your slicer, potentially leading to premature wear and tear. For those who use their slicers regularly, this could significantly impact the lifespan of the appliance, much like how understanding how long Kitchenaid mixers last helps owners maintain their equipment.
Moreover, a dull blade compromises the quality of your slices. Instead of uniform, delicate pieces perfect for sandwiches or charcuterie boards, you’ll end up with shredded, uneven cuts. This not only looks unprofessional but can also affect the texture and taste of the meat. Think about the difference between a clean slice of roast beef and a mangled piece – the appearance alone is enough to deter anyone.
Safety is also a major concern. When you have to exert significant force to push meat through a dull blade, the risk of slipping and injuring yourself increases dramatically. A sharp blade glides through the meat with minimal effort, keeping your hands and fingers much safer.
The Difference Between Honing and Sharpening
It’s important to understand the distinction between honing and sharpening. While often used interchangeably, they serve different purposes.
Sharpening involves removing a small amount of metal from the blade’s edge to create a new, sharp bevel. This is typically done less frequently, when the blade has become noticeably dull and honing is no longer sufficient.
Honing, on the other hand, is about realigning the microscopic teeth of the blade’s edge. Even a sharp blade’s edge can become slightly bent or distorted with use. Honing straightens these out, restoring the keenness of the edge without removing significant metal. Think of honing as regular maintenance to keep the blade in top shape between actual sharpening sessions.
Safety Precautions Before You Start
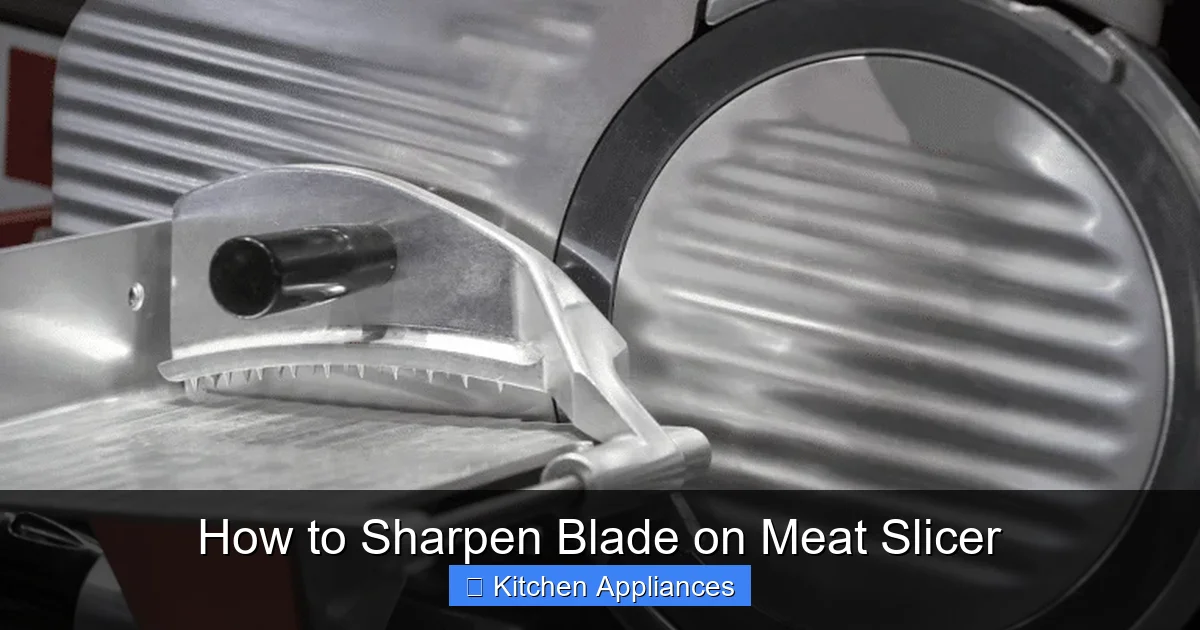
Visual guide about How to Sharpen Blade on Meat Slicer
Image source: grillguru.org
Before you even think about touching a sharpening stone, safety must be your absolute top priority. Meat slicer blades are incredibly sharp, designed to cut through dense materials. Mishandling them can lead to serious injuries.
Unplug the Slicer
This is the golden rule. Always, always, always unplug your meat slicer from the power outlet before attempting to remove the blade or perform any sharpening. Even if you think it’s off, an accidental bump could cause it to start up, with potentially devastating consequences. Double-check that the power cord is completely disconnected.
Wear Protective Gear
Your hands are your most valuable tools, so protect them. Wear sturdy, cut-resistant gloves. These are specifically designed to protect against sharp objects. Do not rely on regular kitchen gloves; they offer minimal protection against a meat slicer blade. A thick cloth or towel can also be used to protect your hands when handling the blade, but gloves are highly recommended.
Secure the Blade
If you’re removing the blade for sharpening, ensure you have a secure way to hold it. If you’re sharpening it while it’s still on the slicer (which is less common and often more difficult), ensure the slicer itself is stable and won’t move.
Work in a Well-Lit Area
Good lighting is essential for clearly seeing the blade’s edge and maintaining the correct angle during sharpening. A poorly lit area increases the risk of mistakes and accidents.
Tools You’ll Need for Sharpening
Gathering the right tools before you begin will make the process smoother and more effective. The specific tools might vary slightly depending on the type of blade and your sharpening method, but here’s a general list:
Sharpening Stone or Honing Steel
This is your primary tool. You have a few options:
- Sharpening Stone (Whetstone): These come in various grits. For meat slicer blades, a medium grit stone (around 400-600) is often a good starting point for sharpening, followed by a fine grit stone (around 800-1200) for refining the edge. Some stones are dual-sided, offering two grits.
- Honing Steel: While primarily for honing, some harder steel rods can be used for light sharpening on very fine edges. However, a dedicated sharpening stone is generally better for restoring a truly dull edge.
- Electric Sharpener: These can be convenient but require careful use to avoid overheating the blade or removing too much metal. They are often less precise than manual methods for delicate blades like those on meat slicers.
Stone Holder (Optional but Recommended)
If you’re using a traditional whetstone, a stone holder keeps it stable on your work surface, preventing it from sliding around and making the sharpening process much safer and easier.
Water or Honing Oil
Depending on the type of sharpening stone you use, you’ll need either water (for water stones) or a specific honing oil (for oil stones) to lubricate the stone. This prevents the stone from clogging with metal filings and helps create a smoother sharpening action. Check the manufacturer’s instructions for your stone.
Soft Cloths or Paper Towels
You’ll need these for cleaning the blade, wiping away metal filings, and drying the stone.
Gloves and Eye Protection
As mentioned in the safety section, cut-resistant gloves are a must. While less likely to be an issue with slicers, wearing safety glasses is always a good practice when working with tools that can create debris.
How to Sharpen a Meat Slicer Blade: Step-by-Step
Now that you’re prepared with the right tools and safety measures in place, let’s get to the actual sharpening process. The exact method can vary slightly depending on whether your slicer has a removable blade and the type of sharpening tool you’re using. We’ll focus on the most common method using a sharpening stone.
Step 1: Prepare Your Sharpening Stone
If you’re using a water stone, soak it in water according to the manufacturer’s instructions. This usually means submerging it until the bubbles stop rising, which can take 5-15 minutes. For oil stones, apply a few drops of honing oil to the surface. Place the stone in its holder or on a damp cloth to keep it from moving.
Step 2: Identify the Blade’s Bevel Angle
Most meat slicer blades have a specific bevel angle – the angle at which the edge is ground. This angle is usually quite shallow, often between 15 and 20 degrees. You need to maintain this angle as closely as possible while sharpening. Looking at the existing bevel on the blade can help you determine the correct angle.
Step 3: Position the Blade
For safety and ease, it’s often best to remove the blade from the slicer if your model allows it. If not, you’ll need to work carefully with the blade in place, ensuring the slicer is unplugged and stable.
If removing the blade: Use a hex wrench or appropriate tool to loosen the center nut. Be careful as you lift the blade out. Place it on a clean surface with the cutting edge facing away from you.
If sharpening in place: You’ll need to carefully maneuver the stone around the blade’s mounting. This is generally more challenging and less precise.
Step 4: Sharpening with the Stone
Hold the blade firmly (or let the slicer hold it if in place). Place the sharpening stone against the blade’s edge at the correct bevel angle. Apply gentle, consistent pressure.
* Motion: Move the stone along the blade’s edge in a smooth, sweeping motion, starting from the heel (closest to the center) and moving towards the tip. Imagine you are trying to slice a thin layer off the stone with the blade’s edge.
* Pressure: Don’t press too hard. Let the grit of the stone do the work. Excessive pressure can damage the stone and the blade.
* Consistency: Maintain the same angle throughout the entire stroke and across the entire length of the blade. If you’re using a dual-grit stone, start with the coarser grit.
* Strokes: Alternate sides of the blade. After a few strokes on one side, flip the blade (or the stone) and do the same number of strokes on the other side. A common practice is 5-10 strokes per side, then switch to the finer grit.
Step 5: Refine the Edge with a Finer Grit
Once you’ve worked with the coarser grit, switch to the finer grit stone (or the finer side of your dual-grit stone). Repeat the sharpening process with the same angle and motion. This step refines the edge, making it sharper and smoother.
Step 6: Check for a Burr
As you sharpen, a tiny “burr” or wire edge will form along the opposite side of the edge you’re sharpening. You can feel this by gently running your fingertip *away* from the edge. The burr indicates that you’ve ground down to the apex of the edge. You want to remove this burr.
To remove the burr, use very light, alternating strokes on each side of the blade with the fine grit stone. You can also use a few light strokes with a honing steel. The goal is to gently break off and smooth out this burr.
Step 7: Clean the Blade Thoroughly
This is a crucial step. Once you’re satisfied with the sharpness, carefully wash the blade with warm, soapy water to remove all metal filings and residue from the sharpening process. Rinse it thoroughly and dry it completely with a clean cloth. If you sharpened the blade while it was on the slicer, carefully clean the blade and the surrounding areas of the slicer.
Step 8: Reassemble (If Necessary)
If you removed the blade, carefully reattach it to the meat slicer. Ensure it’s securely fastened by tightening the center nut properly.
Honing Your Meat Slicer Blade for Maintenance
Regular honing is key to keeping your meat slicer blade sharp between full sharpening sessions. It’s a quick process that realigns the edge and can often restore sharpness that seems to have faded.
Using a Honing Steel
1. **Secure the Steel:** Hold the honing steel vertically, tip resting on a stable surface (like a cutting board or a thick cloth).
2. **Angle is Key:** Position the blade against the steel at the same angle used for sharpening (typically 15-20 degrees).
3. **Smooth Strokes:** Draw the blade down the steel in a single, smooth stroke, from heel to tip. Imagine you are trying to slice off a thin sliver of the steel.
4. **Alternate Sides:** Repeat the motion on the other side of the blade.
5. **Repeat:** Perform 5-10 alternating strokes on each side.
6. **Test and Clean:** Gently test the blade’s sharpness. Wipe the blade clean with a damp cloth to remove any microscopic metal particles.
Honing should be done frequently, perhaps after every few uses, to maintain the edge. It’s much easier and quicker than full sharpening.
Troubleshooting Common Sharpening Issues
Even with the best intentions, you might run into a few snags. Here are some common issues and how to address them:
Blade Still Not Sharp After Sharpening
* **Issue:** You might not be maintaining a consistent angle, or you’re not sharpening long enough.
* **Solution:** Double-check your angle. Try using a sharpening guide if available. Ensure you’re making enough strokes on each side with the correct grit. If using a dual-grit stone, make sure you’ve spent enough time on the coarser grit before moving to the finer one.
Uneven Slices After Sharpening
* **Issue:** The edge might be uneven, or there might still be a burr.
* **Solution:** Inspect the blade closely. You might need to go back to the stone and focus on the areas that feel less sharp. Ensure you’ve completely removed the burr by using very light, alternating strokes.
Overheating the Blade
* **Issue:** This is more common with electric sharpeners but can happen with manual sharpening if you apply too much pressure or sharpen for too long without lubrication.
* **Solution:** Use proper lubrication (water or oil) for your stone. Apply light, consistent pressure. If using an electric sharpener, follow the manufacturer’s instructions precisely and avoid prolonged sharpening in one spot.
Conclusion
Learning how to sharpen a blade on a meat slicer is an essential skill for anyone who uses one regularly. It’s not overly complicated, but it does require patience, attention to detail, and a commitment to safety. By following these steps, using the right tools, and practicing good maintenance, you can ensure your meat slicer always performs at its best, delivering clean, precise slices every time. A sharp blade is a safe blade, a more efficient blade, and ultimately, a blade that helps you create better food. So, don’t let a dull edge hold you back – embrace the sharpening process and enjoy the superior results!
Frequently Asked Questions
How do I remove the blade from my meat slicer for sharpening?
Most meat slicers have a center nut that secures the blade. Ensure the slicer is unplugged, then use the appropriate tool (often a hex wrench) to loosen and remove the nut. Carefully lift the blade away. Always handle the blade with extreme caution and wear protective gloves.
What’s the difference between honing and sharpening?
Sharpening removes metal to create a new edge, typically done when a blade is very dull. Honing realigns the existing microscopic edge of the blade, maintaining its sharpness without removing significant material. Honing is for regular maintenance.
Can I sharpen a serrated meat slicer blade?
Yes, but it requires a different technique and often specialized tools, like a ceramic rod or a fine-grit stone that can fit between the serrations. Many people opt to have serrated blades professionally sharpened or replaced.
What happens if I don’t sharpen my meat slicer blade?
A dull blade makes slicing difficult, requires more force, can tear the meat, and increases the risk of injury. It also leads to uneven, unprofessional-looking slices and can put unnecessary strain on the slicer’s motor.
How do I maintain the sharpness of my meat slicer blade?
Regular honing after every few uses is the best way to maintain sharpness. Keep the blade clean and dry when not in use, and store it safely to prevent damage to the edge.
Is it worth getting my meat slicer blade professionally sharpened?
For very expensive slicers, particularly those with specialized blades, or if you’re uncomfortable sharpening it yourself, professional sharpening is a great option. They have the expertise and equipment to restore the blade to optimal condition.
