

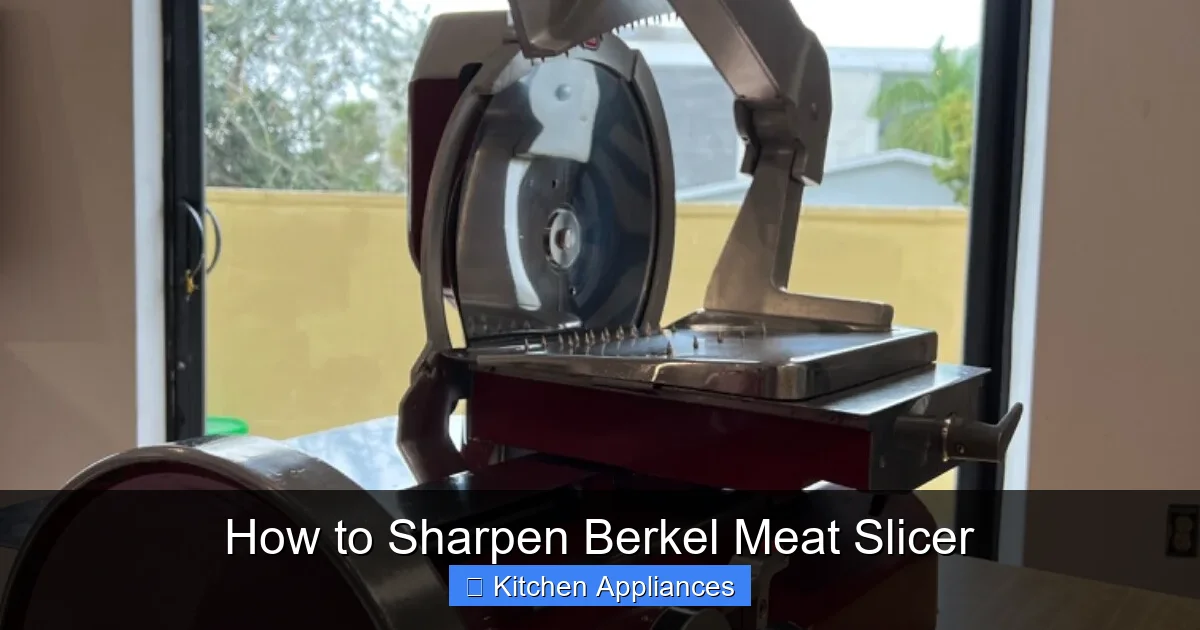
Keeping your Berkel meat slicer sharp is crucial for efficient and safe operation. This guide will walk you through the simple steps of how to sharpen a Berkel meat slicer, ensuring clean cuts every time. Follow these instructions to maintain your slicer’s peak performance.
Are you tired of your Berkel meat slicer tearing instead of slicing? Do your deli meats look mangled instead of perfectly presented? If you’re nodding along, it’s probably time to learn how to sharpen your Berkel meat slicer. A dull blade isn’t just frustrating; it can be a safety hazard. It forces you to apply more pressure, increasing the risk of slipping and cutting yourself. Plus, a sharp blade makes your job so much easier and your food look so much more appealing.
Owning a Berkel meat slicer is a fantastic investment for any home cook or small business. These machines are built to last and deliver professional results. But like any precision tool, they require a little maintenance to keep them performing at their best. Sharpening the blade is one of the most important maintenance tasks you can do. It’s not as intimidating as it might sound, and with the right approach, you can achieve a razor-sharp edge that will transform your slicing experience.
This guide will take you step-by-step through the process of how to sharpen a Berkel meat slicer. We’ll cover everything from safety precautions to the actual sharpening technique, and what to do afterward. Get ready to bring your slicer back to life and enjoy perfectly sliced meats, cheeses, and even vegetables!
Key Takeaways
- Safety First: Always unplug your Berkel meat slicer and wear protective gloves before attempting to sharpen the blade.
- Understand Your Sharpener: Familiarize yourself with the type of sharpening stones or system you are using for your Berkel meat slicer.
- Proper Angle is Key: Maintaining the correct blade angle during sharpening is essential for achieving a keen edge.
- Consistent Strokes: Use smooth, consistent strokes to ensure even sharpening across the entire blade.
- Deburring is Important: After sharpening, you’ll need to remove any burrs to get a truly sharp edge.
- Cleanliness is Crucial: Thoroughly clean the blade and slicer after sharpening to remove metal filings and residue.
Quick Answers to Common Questions
How often should I sharpen my Berkel meat slicer blade?
You should sharpen your Berkel meat slicer blade every 2-3 months with regular home use, or when you notice a decrease in cutting performance. Frequent use in a commercial setting may require more frequent sharpening.
Can I use a regular knife sharpener on my meat slicer blade?
It’s best to use the built-in sharpener designed for your Berkel meat slicer or a sharpening system specifically made for slicer blades. Standard knife sharpeners may not have the correct angle or abrasive grit for a large slicer blade.
What is the most important safety precaution when sharpening?
The most important safety precaution is to always unplug the meat slicer before you begin any sharpening process. Wearing cut-resistant gloves is also highly recommended.
How do I know if my Berkel meat slicer blade is too dull to sharpen?
If your slicer is tearing food rather than slicing cleanly, requires excessive force to cut, or if you can see significant nicks or damage on the blade edge, it may be too dull or damaged for effective home sharpening.
What should I do after sharpening the blade?
After sharpening, you must thoroughly clean the blade and the slicer to remove all metal filings and abrasive dust. Dry the blade completely, and consider applying a thin layer of food-grade mineral oil if recommended by your manual.
📑 Table of Contents
Why Sharpening Your Berkel Meat Slicer is Essential
You might be wondering why you even need to sharpen your Berkel meat slicer. Isn’t the blade supposed to be sharp all the time? Well, blades dull over time with regular use. Think of it like your kitchen knives; they need regular honing and sharpening to stay effective. The constant friction against food, even soft meats, wears down the microscopic edge of the blade.
The Benefits of a Sharp Blade
A sharp blade on your Berkel meat slicer offers several key advantages:
- Cleaner Cuts: A sharp blade glides through food, creating clean, precise slices without tearing or shredding. This is especially important for delicate items like prosciutto or smoked salmon.
- Reduced Effort: You’ll need to apply much less force when slicing, making the process smoother and less tiring.
- Improved Safety: As mentioned, a dull blade requires more pressure, increasing the risk of accidents. A sharp blade cuts with less effort, making it safer to operate.
- Better Food Presentation: Perfectly sliced food looks more appetizing and professional, whether you’re serving guests or customers.
- Extended Slicer Life: Forcing a dull blade can put unnecessary strain on the motor and other components of your Berkel meat slicer. A sharp blade works more efficiently, potentially extending the life of your appliance.
Preparing to Sharpen Your Berkel Meat Slicer
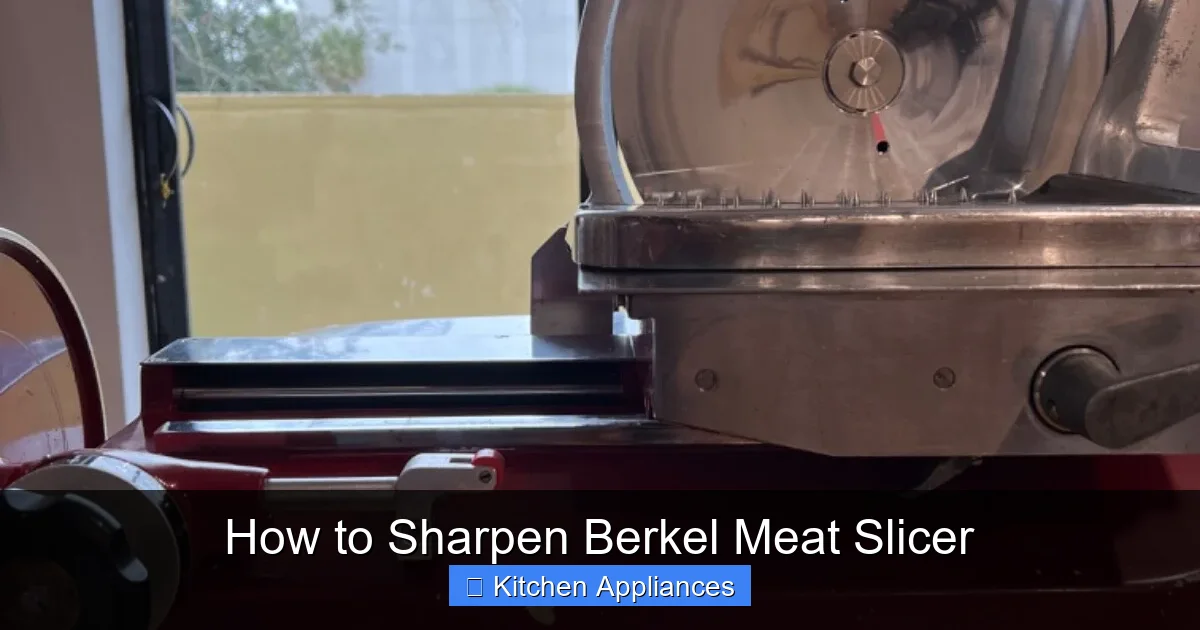
Visual guide about How to Sharpen Berkel Meat Slicer
Image source: i.ebayimg.com
Before you dive into sharpening, it’s crucial to prepare properly. Safety is paramount when dealing with sharp blades, and a Berkel meat slicer blade is no exception.
Safety First: Unplug and Protect
The absolute first step is to **unplug your Berkel meat slicer** from the power outlet. Never attempt to sharpen a blade while the machine is connected to power. It sounds obvious, but it’s a critical safety step.
Next, wear protective gear. A pair of sturdy, cut-resistant gloves is highly recommended. Even when the slicer is off, the blade is incredibly sharp. You don’t want to get careless and end up with a nasty cut. A clean, well-lit workspace is also important so you can see exactly what you’re doing.
Gather Your Sharpening Tools
You’ll need a few specific tools to get the job done. Most Berkel meat slicers come with a built-in sharpener, which is the easiest and most recommended method. This sharpener typically has two sides: one for grinding and one for honing.
If your Berkel meat slicer doesn’t have a built-in sharpener, or if you prefer an alternative, you might need:
- Whetstones: These are stones with abrasive surfaces used to sharpen knives. You’ll likely need a medium-grit stone (around 1000) and a fine-grit stone (around 4000-6000) for a good edge.
- Sharpening Steels/Honing Rods: These are used to realign the edge of the blade after sharpening, not to remove metal.
- A Sturdy Mount or Block: To hold the stone at the correct angle.
For the purpose of this guide, we will focus on using the **built-in sharpener** that comes with most Berkel meat slicers, as it is designed specifically for the blade and is the most straightforward method.
Removing the Blade (Optional but Recommended)
While many built-in sharpeners allow you to sharpen the blade while it’s still on the slicer, removing the blade can make the process easier and safer, allowing for more consistent sharpening. Consult your Berkel meat slicer’s manual for specific instructions on how to safely remove the blade. It usually involves loosening a central screw or locking mechanism. If you choose to remove the blade, handle it with extreme care and always wear your gloves.
The Sharpening Process: Step-by-Step
Once you’ve gathered your tools and ensured your workspace is safe, you’re ready to begin the sharpening process.
Step 1: Engage the Built-in Sharpener
Most Berkel meat slicers have a sharpener unit that attaches to the motor housing or the slicer arm. This unit typically has two abrasive discs: a grinding stone and a honing stone.
* **Locate the Sharpener:** Identify the sharpener unit on your Berkel meat slicer. It’s usually a metal assembly with two distinct stone surfaces.
* **Position the Sharpener:** If it’s not permanently attached, you’ll need to position it correctly against the blade. Your slicer’s manual will show you exactly where it goes and how to secure it.
* **Engage the Stones:** The sharpener usually has levers or mechanisms to bring the grinding stone and then the honing stone into contact with the blade.
Step 2: Sharpening with the Grinding Stone
The grinding stone is the coarser of the two. Its job is to remove small amounts of metal to reshape the blade’s edge.
* **Set the Angle:** The built-in sharpener is designed to hold the blade at the correct angle for sharpening. Ensure the blade is making full contact with the grinding stone.
* **Start the Slicer (Briefly!):** Some sharpeners require the slicer to be running at a low speed to engage the blade with the stone. Others are designed for manual rotation of the blade. **Consult your manual.** If you need to run the slicer, do so for very short bursts (a few seconds at a time).
* **Make Consistent Passes:** Move the blade back and forth across the grinding stone. If the sharpener is stationary, you’ll manually rotate the slicer’s handwheel. If the sharpener moves, you’ll engage the levers to move it across the blade. Aim for smooth, consistent passes.
* **Sharpen Both Sides:** Ensure you are sharpening both sides of the blade edge evenly. Typically, you’ll make several passes on one side, then switch to the other. The goal is to create a fresh, sharp bevel.
* **Check for Progress:** Periodically stop and inspect the blade edge. You’re looking for a consistent bevel across the entire cutting surface. You may see a fine metal dust, which is normal.
Step 3: Honing with the Honing Stone
Once you’ve achieved a satisfactory edge with the grinding stone, it’s time to move to the honing stone. This is a finer stone that refines the edge, making it smoother and sharper.
* **Switch to the Honing Stone:** Adjust the sharpener to bring the honing stone into contact with the blade.
* **Repeat the Process:** Perform the same back-and-forth motion as you did with the grinding stone. Use smooth, consistent strokes.
* **Focus on Refinement:** The honing stone doesn’t remove as much metal. Its purpose is to polish the edge and remove any microscopic imperfections left by the grinding stone.
* **Fewer Passes Needed:** You’ll typically need fewer passes with the honing stone than with the grinding stone.
Step 4: Inspecting the Edge
After honing, carefully inspect the blade. You should be able to see a fine, sharp edge. If you run your fingertip *very carefully* (and with gloves on!) along the edge behind the bevel, you should feel a distinct sharpness. You can also look for a slight sheen or reflection along the very edge of the blade.
Deburring and Final Touches
Sharpening creates a sharp edge, but it can also leave behind a tiny, bent-over flap of metal called a burr. This burr needs to be removed for the blade to be truly sharp and slice cleanly.
Removing the Burr
The honing stone usually does a good job of removing most of the burr. However, you might need to do a final light pass on the honing stone, or even use a leather strop if you’re sharpening knives and want a razor edge. For a meat slicer, a few extra light passes on the honing stone are usually sufficient. The goal is to smooth out that microscopic metal burr.
Cleaning the Blade and Slicer
This is a **critical** step. After sharpening, there will be fine metal filings and abrasive dust on the blade and surrounding areas of the slicer.
* **Remove the Blade (if detached):** If you removed the blade, wash it thoroughly with warm, soapy water. Use a soft cloth or sponge. **Do not use abrasive scrubbers** that could scratch the blade. Rinse it well and dry it immediately and completely.
* **Clean the Slicer:** If the blade is still attached, carefully wipe down the blade with a damp cloth to remove any filings. Then, thoroughly clean the rest of your Berkel meat slicer. This is a good opportunity to give it a general clean. This is similar to how you would clean a stand mixer after a task that might create dust or residue. For instance, how to clean a stand mixer involves similar attention to detail to keep it in top condition.
* **Lubricate (if applicable):** Some slicer manuals recommend a light application of food-grade mineral oil on the blade after cleaning and drying to prevent rust and ensure smooth operation. Check your manual.
Troubleshooting Common Sharpening Issues
Even with careful attention, you might run into a few snags. Here are some common issues and how to address them.
Uneven Sharpening
If you notice the edge isn’t sharp all the way around, it’s likely due to inconsistent pressure or angle during sharpening.
* **Solution:** Go back to the grinding stone and focus on making even, consistent passes. Ensure the blade is making full contact with the stone across its entire length.
Blade Still Feels Dull
If after sharpening, the blade still doesn’t feel sharp enough, you might need to spend more time on the grinding stone or ensure you’re using the correct technique.
* **Solution:** Re-engage the grinding stone and make more passes. Ensure you’re not pressing too hard, which can overheat the blade or create an uneven edge. Sometimes, a blade can be too far gone and may need professional sharpening or replacement.
Excessive Burr Formation
If you’re left with a significant burr that’s hard to remove, it might mean you’re using too much pressure on the grinding stone or not enough time on the honing stone.
* **Solution:** Reduce pressure on the grinding stone and focus on smooth, even strokes. Spend extra time on the honing stone, using light, consistent passes to refine the edge and remove the burr.
When to Consider Professional Sharpening or Blade Replacement
While learning how to sharpen your Berkel meat slicer is a valuable skill, there are times when you might need to call in the pros or consider a new blade.
Signs Your Blade Needs More Than Home Sharpening
* **Deep Nicks or Dents:** If your blade has significant chips, nicks, or dents, home sharpening might not be able to fix them. These require removal of more metal, which can alter the blade’s profile.
* **Bent Blade:** A blade that is noticeably bent or warped cannot be effectively sharpened at home.
* **Persistent Dullness:** If you’ve followed all the steps and the blade still won’t hold an edge, it might be worn out.
* **Lack of Confidence:** If you’re uncomfortable with the process or unsure if you’re doing it correctly, it’s better to seek professional help.
Professional Sharpening Services
Many knife sharpening services also sharpen meat slicer blades. They have specialized equipment and expertise to restore your blade to factory sharpness. This is often a more affordable option than buying a new blade.
Replacing the Blade
If your blade is excessively worn, damaged, or cannot be salvaged by sharpening, replacement might be your best option. Berkel offers replacement blades for their slicers. Always ensure you purchase an official Berkel blade to maintain the quality and performance of your machine.
Conclusion
Knowing how to sharpen your Berkel meat slicer is a fundamental skill for any owner. It ensures your slicer performs at its best, delivering clean, precise cuts for all your culinary needs. By following these steps, prioritizing safety, and using the built-in sharpener correctly, you can maintain a razor-sharp blade that makes slicing effortless and enjoyable. Remember, a sharp blade is a safe blade, and it’s the key to getting the most out of your high-quality Berkel meat slicer. So, don’t delay – give your slicer the attention it deserves and enjoy the difference a sharp blade makes!
Frequently Asked Questions
Is it difficult to sharpen a Berkel meat slicer?
Sharpening a Berkel meat slicer using its built-in sharpener is generally straightforward. The sharpener is designed to guide the blade at the correct angle, making the process manageable even for beginners.
Can sharpening damage my Berkel meat slicer blade?
Improper sharpening, such as using the wrong angle, excessive pressure, or abrasive materials not meant for the slicer, can potentially damage the blade. Always follow the manufacturer’s instructions and use the designated sharpener.
How do I clean the built-in sharpener on my Berkel meat slicer?
After sharpening, use a dry or slightly damp cloth to wipe down the sharpening stones and the sharpener assembly. Ensure all abrasive dust and metal filings are removed. Allow it to air dry completely before storing or using the slicer again.
What kind of food can a sharp Berkel meat slicer cut?
A properly sharpened Berkel meat slicer can efficiently cut a wide variety of foods, including deli meats, roasts, cheeses, firm vegetables like potatoes and onions, and even bread. The cleaner the blade, the better the result for all these items.
My Berkel meat slicer blade seems to have lost its sharpness really quickly. What could be the reason?
This could be due to a few reasons: the blade might not have been sharpened correctly the last time, you might be slicing very hard items that wear down the edge faster, or the blade itself might be nearing the end of its usable life and needs replacement.
Should I sharpen the blade after every use?
No, you do not need to sharpen the blade after every single use. Sharpening is a maintenance task that should be done when the blade shows signs of dullness. Regular cleaning after each use is far more important for maintaining your slicer.
