

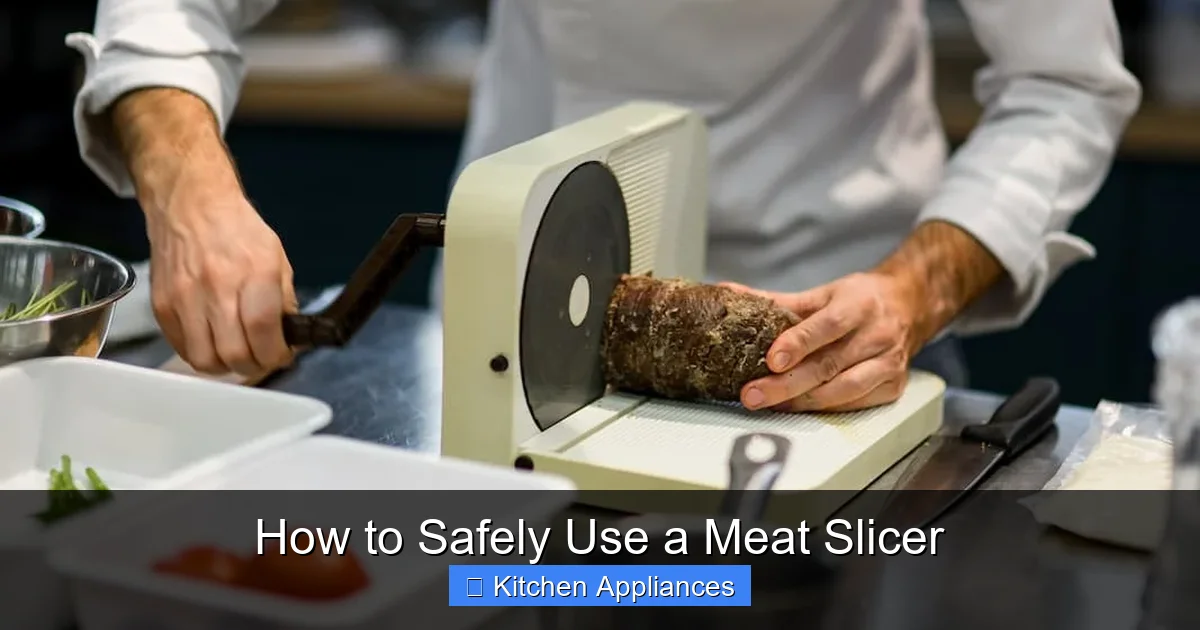
Unlock the full potential of your kitchen with a meat slicer, but safety must always come first. This guide provides essential knowledge for operating, cleaning, and maintaining your slicer to prevent accidents and ensure perfect results. Follow these steps for confident and safe slicing.
Are you tired of unevenly cut deli meats, or perhaps you dream of crafting your own perfectly thin slices of roast beef for sandwiches? A meat slicer can be an incredible addition to your kitchen, transforming store-bought items and homemade creations into culinary masterpieces. Imagine creating paper-thin slices of prosciutto, uniformly thick cuts of ham, or even perfectly fanned-out salami for your next charcuterie board. It’s all within reach with the right tool and, more importantly, the right knowledge.
However, the very power that makes a meat slicer so useful – its incredibly sharp, fast-moving blade – also makes it a potentially dangerous appliance if not handled with care. Safety isn’t just a suggestion; it’s paramount when operating any kitchen equipment with a sharp, motorized blade. This guide is designed to walk you through **how to safely use a meat slicer**, ensuring you can enjoy its benefits without compromising your well-being. We’ll cover everything from initial setup and operation to cleaning and maintenance, so you can slice with confidence.
## Understanding Your Meat Slicer
Before you even plug in your meat slicer, it’s vital to understand its components and how they work together. Each part plays a role in both its functionality and its safety. Taking the time to get acquainted with your specific model will significantly reduce the risk of accidents.
### Key Components to Know
* Blade: This is the heart of the slicer. Meat slicer blades are typically made of high-quality stainless steel and are exceptionally sharp. They come in various sizes and may have serrated or smooth edges, depending on their intended use.
* Motor: This powers the blade’s rotation. The power of the motor will influence how efficiently the slicer handles different types of food.
* Food Carriage/Tray: This is the platform where you place the food you intend to slice. It slides back and forth, guiding the food towards the blade.
* Food Pusher/Deflector: This is a crucial safety feature that helps hold the food in place on the carriage and pushes it towards the blade. Some models have integrated pushers, while others have separate ones.
* Thickness Adjustment Knob: This allows you to control the width of each slice. It’s usually a dial or lever that moves the blade further away or closer to the food guide.
* On/Off Switch: Simple, but important! Know where it is and how to quickly turn off the slicer in an emergency.
* Blade Guard: Most good quality slicers will have a fixed or removable blade guard that covers part of the blade when not in use or during certain operations.
* Suction Cups or Rubber Feet: These are designed to keep the slicer stable on your countertop, preventing it from moving during operation.
### Read the Manufacturer’s Manual
This might sound obvious, but it’s the most critical first step. Every meat slicer is a little different. The manufacturer’s manual contains specific safety warnings, operating instructions, and maintenance recommendations tailored to your model. It will explain how to properly assemble the slicer, adjust the thickness, use the safety features, and clean it. Skipping this step is like driving a car without reading the owner’s manual – you might get by, but you’re increasing your risk of a mishap.
## Safe Operation: Slicing with Confidence
Once you’re familiar with your slicer’s parts and have read the manual, it’s time to talk about safe operation. This involves preparation, proper technique, and always being aware of your surroundings and the machine’s actions.
### Preparing Your Workspace
A cluttered or unstable workspace is an invitation for accidents. Before you start slicing, ensure you have a clean, dry, and stable surface.
* Stable Surface: Place the meat slicer on a sturdy countertop. Make sure it’s not near the edge where it could be knocked off.
* Non-Slip Base: Most slicers have rubber feet or suction cups. Ensure these are clean and making good contact with the counter to prevent slippage. If your slicer seems wobbly, consider placing a damp cloth or a non-slip mat underneath.
* Clear Area: Keep the area around the slicer free of clutter. You don’t want anything to obstruct the food carriage’s movement or get caught in the blade. This includes things like dish towels, knives, or other utensils.
* Electrical Safety: Ensure the power cord is in good condition, with no fraying or damage. Plug it into a properly grounded outlet. Keep the cord away from water and heat sources.
### Preparing Your Food
The type and preparation of your food can also impact safety and performance.
* Chill Your Meats: For best results and safer slicing, meats should be well-chilled, almost frozen. This makes them firmer and easier to slice thinly without tearing or mashing. Think of how deli meats are prepared – they are kept very cold.
* Remove Bones and Hard Parts: Always remove bones, large gristle, and other hard parts before slicing. These can damage the blade and make slicing difficult and dangerous.
* Size Matters: Ensure your food item fits comfortably on the food carriage and can be secured by the food pusher. You shouldn’t have to force it.
### The Slicing Process: Step-by-Step Safety
Now for the actual slicing. Always approach this with a calm, focused mindset.
1. Secure the Food: Place your chilled food item onto the food carriage.
2. Use the Food Pusher: This is non-negotiable. Never, ever use your fingers to push the food towards the blade. Always use the food pusher or the carriage itself to guide the food. Position the pusher firmly against the food.
3. Set the Slice Thickness: Use the thickness adjustment knob to set your desired slice width. Start with a thicker setting if you’re new to using the slicer, then gradually decrease it as you gain confidence.
4. Turn on the Slicer: Once everything is in place and your hands are clear of the blade, turn on the meat slicer.
5. Advance the Carriage: Gently and steadily push the food carriage towards the blade. Let the blade do the work; don’t force the carriage. The slicer should move smoothly.
6. Catch the Slices: Use a clean plate or tray to catch the sliced food as it comes off the blade.
7. Turn Off the Slicer: After slicing the desired amount, turn off the motor *before* attempting to remove the sliced food or adjust the thickness.
8. Return Carriage to Home Position: Move the food carriage back to its starting position.
## Blade Safety: Respect the Sharpness
The blade is the most dangerous part of the meat slicer. Treat it with the utmost respect.
### Handling the Blade
* Always Unplug First: Before you ever touch the blade, whether for cleaning or removal, **always unplug the meat slicer**. Make sure the switch is off, and then disconnect the power cord.
* Wear Protective Gloves: When handling the blade, wear a cut-resistant glove. Even when the slicer is off, the blade is incredibly sharp and can easily cause a severe cut.
* Blade Removal and Installation: Follow your manual’s instructions precisely for removing and reinstalling the blade. Some slicers have a special knob or mechanism to help with this process. Always ensure the blade is securely fastened before operating the slicer.
* Clean Around the Blade Carefully: When cleaning, use a brush and a damp cloth to clean around the blade. Avoid wiping directly across the blade’s edge.
### Blade Types and Maintenance
* Smooth vs. Serrated: Smooth blades are generally better for slicing soft meats, cheeses, and cooked meats. Serrated blades are better for tougher meats, cured meats, and foods with a rind. Some slicers come with interchangeable blades.
* Keep it Sharp: A dull blade requires more force to cut through food, increasing the risk of slippage and accidents. Many slicers have a built-in sharpener, or you can take them to a professional for sharpening. Refer to your manual for sharpening instructions.
## Cleaning Your Meat Slicer: A Crucial Step
Proper cleaning is not just about hygiene; it’s also a safety measure. Food particles left on the slicer can become a breeding ground for bacteria and can also interfere with the smooth operation of the machine. This is similar to how you would prioritize **how to clean a stand mixer** to ensure it functions well and remains hygienic for food preparation.
### Cleaning After Each Use
* Unplug the Slicer: This is the first and most important rule.
* Disassemble as Recommended: Most slicers allow for the removal of certain parts, like the food tray, food pusher, and sometimes even the blade guard, for easier cleaning. Consult your manual.
* Wash Removable Parts: Wash these components in warm, soapy water. Use a soft cloth or sponge. For stubborn bits, a soft brush can be helpful. Avoid abrasive cleaners or scouring pads, which can damage the surfaces.
* Clean the Slicer Body: Wipe down the main body of the slicer with a damp cloth and mild detergent. Pay attention to areas where food might accumulate.
* Clean the Blade Area: This requires extra care. Use a soft brush and a damp cloth to carefully clean the blade and the area around it. Always wipe away from the blade’s edge.
* Dry Thoroughly: Make sure all parts are completely dry before reassembling. Moisture can lead to rust and bacterial growth.
* Reassemble: Once everything is dry, carefully reassemble the slicer. Ensure the blade is properly secured.
### Deep Cleaning and Lubrication
* **Regular Deep Cleans:** Depending on how often you use your slicer, a more thorough deep clean might be necessary every few weeks or months. This might involve more detailed disassembly.
* **Lubrication:** Some meat slicers require periodic lubrication of moving parts, such as the food carriage track. Your manual will specify the type of lubricant to use (usually food-grade mineral oil) and the lubrication points. This helps ensure smooth operation and prevents wear and tear.
## Maintenance and Storage
Proper maintenance and storage extend the life of your meat slicer and keep it operating safely.
### Routine Checks
* Inspect the Cord: Regularly check the power cord for any signs of damage.
* Check for Loose Parts: Before and after each use, ensure all parts are securely attached.
* Listen for Unusual Noises: If your slicer starts making strange grinding or squealing noises, it might indicate a mechanical issue that needs professional attention.
### Storage
* Clean and Dry: Always store your meat slicer clean and completely dry.
* Blade Protection: If possible, store the blade separately or ensure it is covered to prevent accidental contact. Some slicers come with a blade cover.
* Safe Location: Store the slicer in a dry, secure location, out of reach of children. Ensure it’s not placed where it could easily fall or be damaged.
## When to Call a Professional
While most maintenance and cleaning can be done at home, there are times when you should seek professional help.
* Electrical Issues: If you notice sparks, smoke, or the slicer doesn’t turn on, do not attempt to fix it yourself. Unplug it immediately and contact a qualified technician.
* Mechanical Problems: If the motor seems strained, the blade doesn’t spin true, or parts are jammed, it’s best to have it inspected by a professional.
* Damaged Parts: If any critical parts, like the blade or housing, are significantly damaged, they may need professional repair or replacement.
Using a meat slicer can be a rewarding experience, opening up a world of culinary possibilities. By understanding your machine, prioritizing safety in operation and cleaning, and performing regular maintenance, you can enjoy perfectly sliced meats and cheeses for years to come. Remember, safety is not a feature; it’s a practice. Slice smart, slice safe!
- Read the Manual: Always familiarize yourself with your specific meat slicer’s instructions and safety features before use.
- Secure the Slicer: Ensure the slicer is on a stable, non-slip surface and that all parts are securely attached.
- Keep Hands Away: Never use your fingers to push food towards the blade; always use the food pusher or carriage.
- Unplug When Not in Use: Always disconnect the power supply before cleaning, adjusting, or removing parts.
- Proper Cleaning is Crucial: Clean all parts thoroughly after each use to prevent food buildup and maintain hygiene.
- Blade Safety: Treat the blade with extreme caution; it is incredibly sharp. Use protective gloves when handling it.
- Regular Maintenance: Keep your slicer in good working order through regular checks and lubrication as recommended.
Quick Answers to Common Questions
What is the most important safety rule when using a meat slicer?
The most important safety rule is to always keep your hands away from the blade and never use your fingers to push food towards it. Always use the food pusher or carriage.
Can I use my meat slicer for cheese?
Yes, many meat slicers can also be used for slicing cheese. However, it’s crucial to clean the slicer thoroughly between slicing meat and cheese to prevent flavor transfer and maintain hygiene. Some people prefer to have a separate blade or even a separate slicer for cheese.
How often should I clean my meat slicer?
You should clean your meat slicer thoroughly after every use. This includes washing removable parts and carefully cleaning the blade area and the slicer body.
Is it safe to remove the blade from my meat slicer?
Yes, it is safe to remove the blade for cleaning or maintenance, but only after you have unplugged the slicer and are wearing cut-resistant gloves. Always follow the manufacturer’s instructions for blade removal and reinstallation.
What kind of meat is best for slicing?
Well-chilled or partially frozen meats are best for slicing. This makes them firmer and easier to cut into thin, uniform slices without tearing or mashing.
Frequently Asked Questions
How do I ensure my meat slicer is stable on the counter?
Make sure the slicer is placed on a clean, dry, and level surface. Most slicers have rubber feet or suction cups; ensure these are clean and making good contact with the countertop to prevent slippage.
Can I slice bread with a meat slicer?
While some meat slicers can technically cut bread, it’s generally not recommended. Bread can be crumbly, and the crumbs can get into the motor and mechanisms, making cleaning difficult and potentially damaging the appliance. Specialized bread slicers are designed for this purpose.
What should I do if the slicer blade seems dull?
A dull blade is a safety hazard because it requires more force and can lead to slipping. Check your manual for instructions on how to sharpen the blade yourself, or take it to a professional for sharpening to ensure optimal performance and safety.
Are there any specific safety precautions for electric meat slicers?
Yes, always ensure the power cord is in good condition and plugged into a grounded outlet. Keep the cord away from water and heat. Never operate the slicer with wet hands, and always unplug it before cleaning or making any adjustments.
How do I store my meat slicer safely?
Store your meat slicer clean, dry, and in a secure location, preferably out of reach of children. Ensure the blade is protected, either by a cover or by storing it separately, to prevent accidental cuts.
What is the purpose of the food pusher?
The food pusher is a critical safety device that holds the food securely in place and guides it towards the blade. It prevents your fingers from coming into contact with the sharp blade, ensuring a safer slicing experience.
