


Unlock professional slicing at home with our guide on how to operate a meat slicer. From understanding your machine to achieving perfect cuts and prioritizing safety, this article covers everything you need. Get ready for perfectly sliced meats every time!
Are you tired of unevenly sliced deli meats or struggling to get that perfect thin cut for your charcuterie boards? Maybe you love the idea of making your own homemade pepperoni or thinly sliced roast beef for sandwiches. If so, then investing in a meat slicer might be the perfect addition to your kitchen arsenal. But like any powerful kitchen appliance, knowing how to operate a meat slicer safely and effectively is crucial. It’s not as daunting as it might seem!
Operating a meat slicer can seem intimidating at first, especially with that sharp, spinning blade. However, with a little knowledge and practice, you’ll be slicing like a pro in no time. This guide is designed to walk you through every step, from understanding the basics to cleaning and maintenance, ensuring you get the most out of your machine while staying safe. Let’s dive in and transform your home-cooked meals and appetizers!
Key Takeaways
- Safety First: Always read your manual, keep fingers away from the blade, and operate with a stable machine on a flat surface.
- Know Your Slicer: Understand the different parts, blade types, and thickness adjustments for optimal use.
- Prep is Key: Chill meats thoroughly to make slicing easier and cleaner.
- Proper Technique: Use the food tray and pusher correctly, and employ a steady back-and-forth motion.
- Cleaning is Crucial: Disassemble and clean your meat slicer thoroughly after each use to maintain hygiene and longevity.
- Blade Maintenance: Keep your blade sharp for cleaner cuts and easier operation.
Quick Answers to Common Questions
What is the most important safety rule when operating a meat slicer?
The most important safety rule is to always keep your fingers away from the blade and never use them to hold or guide the food. Always use the provided food pusher.
How should I prepare meat before slicing?
Meat should be thoroughly chilled, almost frozen but not completely solid. This firmness is key to achieving clean, even slices. Also, trim off any large, irregular fat chunks or tough connective tissues.
Can I slice cheese with a meat slicer?
Yes, you can slice cheese with a meat slicer, especially firm cheeses. Ensure the cheese is well-chilled, similar to how you’d prepare meat. Some people prefer to use a dedicated blade for cheese if their model allows for blade changes.
How often should I clean my meat slicer?
You should clean your meat slicer thoroughly after every single use. This is crucial for food safety and to maintain the appliance’s performance and longevity.
What should I do if the meat slicer blade seems dull?
If the blade seems dull, it needs to be sharpened. Check your manual for instructions on using a built-in sharpener or a separate sharpening tool. If you’re not comfortable doing it yourself, consider professional sharpening.
📑 Table of Contents
Understanding Your Meat Slicer
Before you even think about slicing, it’s essential to get acquainted with your new kitchen companion. Meat slicers come in various sizes and models, from small home units to larger commercial-grade machines. Regardless of the type, they share fundamental components that you need to understand.
The Blade
This is the heart of your meat slicer. Blades are typically made of high-carbon stainless steel and come in different diameters. Some blades are designed for general use, while others might be serrated for bread or even have a non-stick coating. For most meats, a smooth, sharp blade is ideal. Always ensure the blade is clean, sharp, and properly secured before use. A dull blade will tear meat rather than slice it cleanly, making the process harder and the results less appealing.
The Food Tray and Pusher (Food Grip)
The food tray is where you place the item you want to slice. It usually slides back and forth to feed the food into the blade. The pusher, sometimes called a food grip or food holder, is crucial for safety. It holds the food in place and pushes it towards the blade, preventing your fingers from getting too close. Always use the pusher provided with your slicer.
The Thickness Adjustment Knob
This is your control panel for slice precision. Located on the side of the slicer, this knob allows you to set the desired thickness of your slices. It can range from paper-thin for delicate prosciutto to thicker cuts for roast beef. Experiment with this to find your preferred settings for different types of food.
The Motor and Switch
The motor powers the spinning blade. Ensure your slicer is plugged into a properly grounded outlet. The switch is usually a simple on/off button, but some models may have a continuous run option or a pulse feature. Always be mindful of where the switch is located and how to quickly turn off the machine in an emergency.
Safety First: Essential Precautions
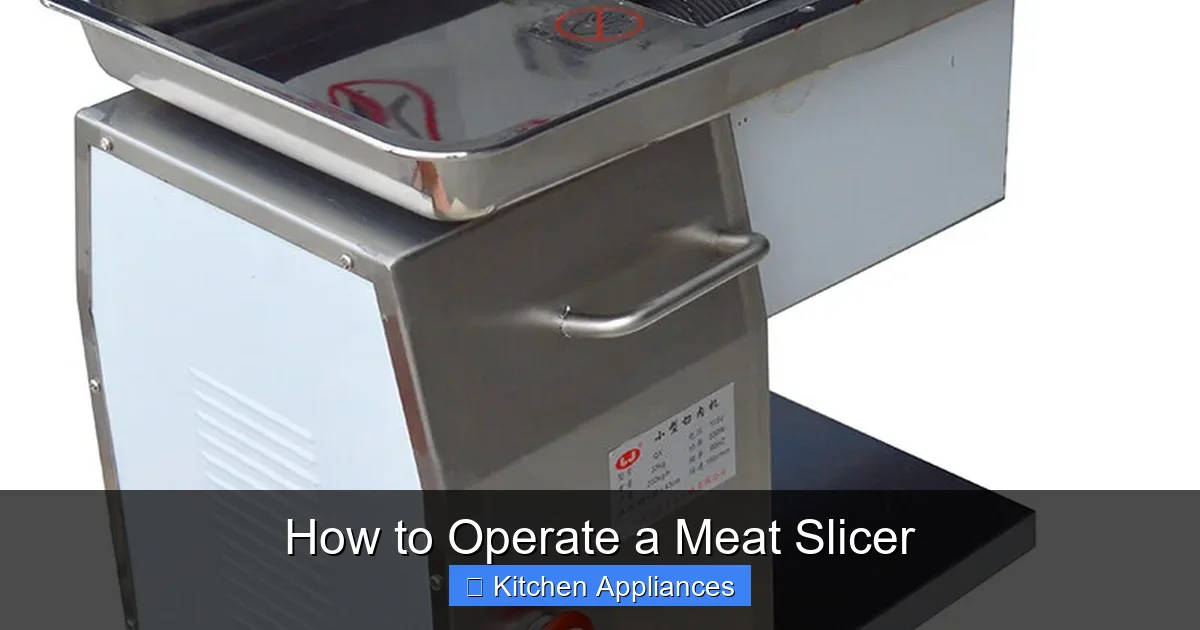
Visual guide about How to Operate a Meat Slicer
Image source: i.ebayimg.com
Operating a meat slicer involves a sharp, fast-moving blade, so safety must be your absolute top priority. Neglecting safety can lead to serious injuries. Let’s go over the non-negotiable safety rules.
Read the Manual!
This might sound obvious, but every meat slicer is slightly different. The manufacturer’s manual is your best friend. It contains specific instructions for your model, including safety warnings, assembly, disassembly, and cleaning procedures. Don’t skip this step!
Stable Surface and Placement
Always place your meat slicer on a stable, flat, and dry surface. Ensure there’s enough space around the machine to operate it comfortably and safely. Avoid placing it near the edge of a counter where it could be knocked off. Some slicers have suction cups on the bottom to keep them from moving; make sure these are engaged.
Keep Fingers Away!
This is the golden rule. Never, ever use your fingers to hold or guide the food being sliced. Always use the food tray and the pusher. When the slicer is on, keep your hands and body away from the blade path.
Unplug When Not In Use or Cleaning
Always unplug the meat slicer before cleaning, disassembling, or changing the blade. This prevents accidental activation of the motor and blade.
Blade Guard
Most slicers have a blade guard that either covers the blade or is integrated into the design. Ensure it is in place and functioning correctly. Some guards are removable for cleaning, but they must be reattached securely before operation.
Supervise Children and Pets
Keep children and pets away from the kitchen area when you are operating a meat slicer. They can be unpredictable and pose a significant safety risk around a powerful appliance like this.
Preparing Your Food for Slicing
The way you prepare your meat before it hits the slicer can make a huge difference in the ease of slicing and the quality of the final product.
Chill Your Meat Thoroughly
This is perhaps the most important preparation tip. For best results, meats should be very cold, almost frozen but not completely solid. This makes them firmer and easier to slice cleanly. Think of slicing a block of ice versus a puddle of water – the firmer it is, the cleaner the cut. This applies to roast beef, ham, turkey, and even firm cheeses.
Trim Excess Fat and Tough Connective Tissue
While some fat is desirable for flavor, large, irregular chunks can make slicing difficult and clog the blade. Trim these off. Similarly, remove tough connective tissues that can snag the blade.
Shape Your Meat
If you’re slicing a roast, try to make it as uniform in shape as possible. If you have a large roast, you might need to cut it into smaller, manageable pieces that fit comfortably on the food tray. For round items like salamis or logs, consider slicing them in half lengthwise first to create a flat surface that sits more securely on the tray.
Consider the Grain
For meats like roast beef or chicken breast, slicing against the grain will result in more tender, easier-to-chew slices. Slicing with the grain can produce tougher results. Observe the direction of the muscle fibers in your meat to determine the best slicing direction.
Operating the Meat Slicer: Step-by-Step
Now that you’re prepped and safety-conscious, let’s get slicing!
Step 1: Set Up Your Slicer
Ensure the slicer is on a stable surface, plugged in, and the blade guard is secure. Set the desired thickness using the adjustment knob. Start with a thicker setting if you’re new to using a slicer, then gradually decrease it as you gain confidence.
Step 2: Place Food on the Tray
Position your chilled, prepared food item onto the food tray. Use the pusher to secure it firmly against the blade’s path and the back of the tray. Ensure the food is stable and won’t shift during slicing.
Step 3: Start the Slicer
Turn on the meat slicer’s motor. You should hear a steady hum.
Step 4: Slice the Food
Gently and steadily push the food tray towards the blade using the pusher. Allow the blade to do the work. Avoid forcing the food. Move the tray back and forth in a smooth, consistent motion. If you’re slicing multiple pieces, try to maintain a consistent speed and pressure. Some people prefer to have a tray or plate ready to catch the slices as they come off the blade.
Step 5: Turn Off the Slicer
Once you have finished slicing, or if you need to reposition the food, turn off the motor immediately. Wait for the blade to come to a complete stop before making any adjustments or removing the sliced food.
Step 6: Remove Sliced Food
With the blade stopped and the machine unplugged (for added safety, especially if you need to reach near the blade), carefully remove the sliced food from the tray.
Cleaning and Maintenance: Keeping Your Slicer in Top Shape
Proper cleaning is essential not only for food safety but also for the longevity and performance of your meat slicer. A clean slicer works better and lasts longer. Many home cooks wonder about cleaning their appliances, much like they might ask how to clean a stand mixer, but a slicer requires specific attention due to its blade.
Daily Cleaning (After Each Use)
This is non-negotiable. After every time you use your meat slicer, you must clean it thoroughly.
- Unplug the slicer. Always start here.
- Disassemble removable parts. This usually includes the food tray, pusher, and sometimes the blade guard. Refer to your manual for specific instructions on how to safely remove these parts.
- Clean the blade. This is the trickiest part. Use a soft cloth or sponge with warm, soapy water. Be extremely careful not to cut yourself. Some slicers come with a blade removal tool for safer disassembly. If not, use a damp cloth to wipe the blade in a direction away from the cutting edge. Never use abrasive cleaners or scouring pads on the blade, as this can dull it.
- Wash other parts. Wash the food tray, pusher, and any other removable parts in warm, soapy water. Rinse them thoroughly.
- Clean the slicer body. Use a damp cloth to wipe down the body of the slicer, paying attention to areas around the blade housing and the food tray track. Avoid getting water into the motor housing.
- Dry everything completely. Use a clean, dry towel to dry all parts thoroughly. Moisture can lead to rust and bacterial growth.
- Reassemble. Once all parts are completely dry, reassemble the slicer.
Periodic Maintenance
Beyond daily cleaning, some periodic maintenance will keep your slicer running smoothly.
- Blade Sharpening: A sharp blade is crucial for good performance. Most home slicer blades will eventually need sharpening. Some models have built-in sharpeners, or you can purchase a separate sharpening tool. If you’re not comfortable sharpening it yourself, consider taking it to a professional. A sharp blade makes slicing easier and safer.
- Lubrication: Check your manual to see if any parts require lubrication. Some sliding mechanisms might benefit from a food-grade lubricant.
- Check for Loose Parts: Periodically, check that all screws and parts are tight and secure.
Tips for Perfect Slices Every Time
Beyond the basic operation, a few extra tips can elevate your slicing game.
Use a Defrosting Timer
For perfectly chilled meat, consider using a timer to remind you when your meat is ready to come out of the freezer to partially thaw. Aim for that firm-but-not-frozen stage.
Practice Makes Perfect
Don’t get discouraged if your first few attempts aren’t perfectly uniform. The more you use your meat slicer, the better you’ll become at controlling the food tray and achieving consistent results.
Consider Different Blade Types
While most home slicers come with a general-purpose blade, you might find that a serrated blade works better for certain items like crusty bread or softer cheeses if your slicer supports blade changes.
Don’t Overload the Slicer
Avoid trying to slice too much meat at once. If you have a large quantity, break it down into smaller batches. This prevents the motor from overheating and ensures more consistent slices.
Store Your Slicer Properly
When not in use, store your meat slicer in a clean, dry place. Cover it with a dust cover or its original packaging to protect it from dust and debris.
Using a meat slicer at home opens up a world of culinary possibilities. Whether you’re crafting the perfect sandwich, building an impressive cheese board, or preparing ingredients for a recipe, a meat slicer is an invaluable tool. By understanding its parts, prioritizing safety, preparing your food correctly, and committing to thorough cleaning, you can confidently operate your meat slicer and enjoy professional-quality results in your own kitchen. Happy slicing!
Frequently Asked Questions
How do I ensure my meat slicer is stable during operation?
Make sure the slicer is placed on a flat, dry, and stable surface. Engage any suction cups on the bottom of the slicer if present, as these help prevent movement during operation.
What is the purpose of the food pusher/food grip?
The food pusher is a critical safety device. It holds the food item securely in place against the blade’s path and pushes it towards the blade, preventing your fingers from getting too close to the dangerous, spinning blade.
Can I use my meat slicer for frozen meat?
No, you should not slice completely frozen meat. The meat should be very cold and firm, but still pliable enough to slice. Overly frozen meat can damage the blade and motor.
How do I adjust the slice thickness?
Most meat slicers have a thickness adjustment knob, usually located on the side of the machine. Turn this knob to the desired setting, which is typically indicated by numbers or lines representing millimeters or fractions of an inch.
What kind of maintenance does a meat slicer require besides cleaning?
Besides daily cleaning, periodic maintenance may include sharpening the blade, checking for loose parts, and potentially lubricating certain moving components as per the manufacturer’s instructions in the manual.
Are meat slicers difficult to assemble and disassemble?
Assembly and disassembly vary by model. Most home models are designed for relatively straightforward disassembly for cleaning. Always refer to your user manual for specific, step-by-step instructions for your particular slicer.
