

Adjusting your KitchenAid stand mixer ensures smooth operation and consistent results. Whether you’re fixing a wobbly bowl or aligning attachments, this guide walks you through every step to keep your mixer running like new.
If you’ve ever used a KitchenAid stand mixer, you know it’s more than just a kitchen gadget—it’s a trusted partner in baking, cooking, and meal prep. From fluffy meringues to dense bread dough, this iconic machine handles it all with power and precision. But even the best appliances need a little TLC to keep performing at their peak. One of the most common—and often overlooked—ways to maintain your mixer is by learning how to adjust a KitchenAid stand mixer properly.
Over time, you might notice your mixer making extra noise, the bowl wobbling, or ingredients splattering out during mixing. These aren’t signs of a broken machine—they’re often symptoms of misalignment or incorrect settings. The good news? Most issues can be fixed with a few simple adjustments. Whether you’re a weekend baker or a daily dough-kneader, knowing how to fine-tune your mixer ensures smoother operation, better results, and a longer life for your appliance.
Key Takeaways
- Proper bowl height is crucial: The right adjustment prevents splattering and ensures even mixing.
- Check the head tilt regularly: A misaligned head can cause noise and poor performance.
- Use the right tools: A flathead screwdriver and wrench (if needed) make adjustments easier.
- Never force attachments: If they don’t fit smoothly, recheck alignment before use.
- Adjust based on recipe needs: Thick doughs may require a slight tweak compared to light batters.
- Regular maintenance extends lifespan: Simple adjustments prevent long-term wear and tear.
📑 Table of Contents
Why Adjusting Your KitchenAid Mixer Matters
Think of your KitchenAid stand mixer like a car engine. Even the most powerful engine won’t run well if the spark plugs are misaligned or the belts are loose. The same goes for your mixer. Small mechanical shifts happen over time—especially with heavy use—and can affect how well your attachments reach the ingredients in the bowl.
When the bowl isn’t at the right height, the paddle, whisk, or dough hook might scrape the bottom too hard or not reach deep enough. This leads to uneven mixing, longer prep times, and even damage to the bowl or attachments. Worse, it can strain the motor, reducing the mixer’s lifespan.
Adjusting your mixer isn’t just about fixing problems—it’s about optimizing performance. A well-adjusted mixer mixes faster, quieter, and more efficiently. It also reduces the risk of accidents, like ingredients flying out of the bowl or the machine vibrating off the counter.
Understanding the Bowl Height Adjustment
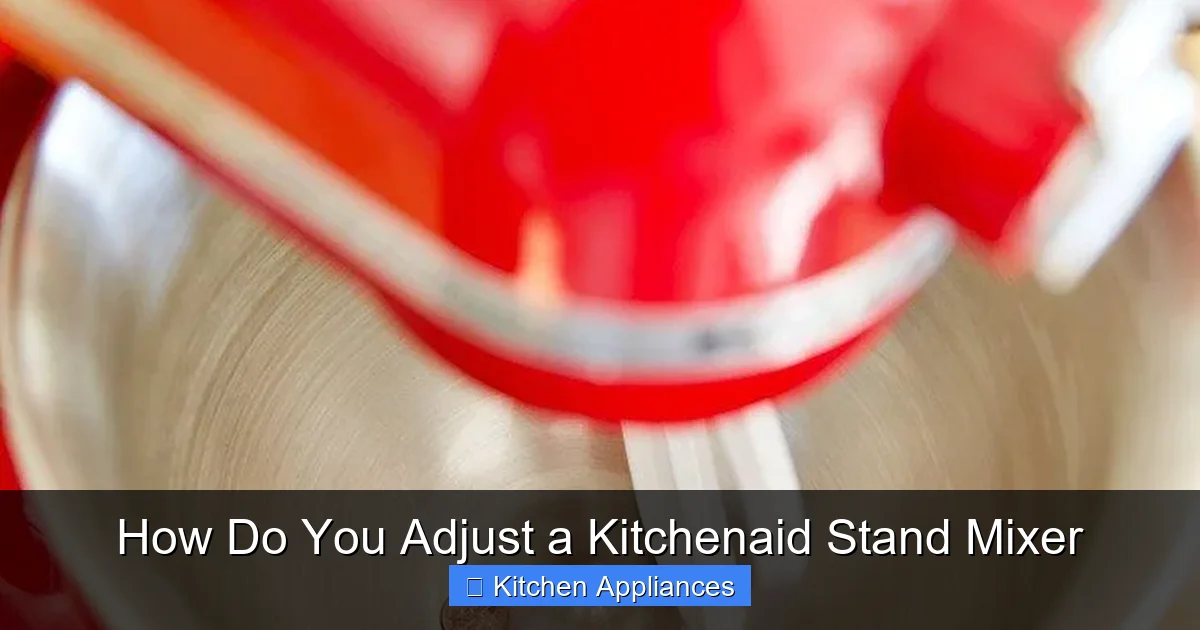
Visual guide about How Do You Adjust a Kitchenaid Stand Mixer
Image source: i.pinimg.com
The most common adjustment you’ll make on your KitchenAid stand mixer is the bowl height. This determines how close the mixing attachment (like the flat beater or dough hook) sits to the bottom of the bowl. Too high, and your ingredients won’t mix properly. Too low, and you’ll hear that dreaded scraping sound—plus risk damaging the bowl.
How to Check Bowl Height
Start by attaching the flat beater to the mixer. Lower the head and place the bowl on the base. Turn the mixer on to the lowest speed (Stir). Watch the beater as it spins. It should gently touch the bottom of the bowl without scraping or grinding.
If you see or hear scraping, the bowl is too low. If the beater isn’t reaching the ingredients at all, the bowl is too high. Either way, it’s time for an adjustment.
Step-by-Step Bowl Height Adjustment
1. **Unplug the mixer** – Safety first! Always disconnect the power before making any adjustments.
2. **Remove the bowl and attachment** – Lift the head and take off the flat beater and bowl.
3. **Locate the adjustment screw** – On most KitchenAid models, this is a small screw on the right side of the head, near the hinge. It’s usually covered by a rubber cap—gently pry it off.
4. **Use a flathead screwdriver** – Turn the screw clockwise to raise the bowl height (less contact) or counterclockwise to lower it (more contact). Make small turns—just a quarter or half rotation at a time.
5. **Test the adjustment** – Reattach the bowl and beater, lower the head, and run the mixer on Stir. Check for smooth, quiet mixing.
6. **Repeat if needed** – It may take a couple of tries to get it just right. Be patient—small changes make a big difference.
Pro tip: If you frequently switch between light batters (like cake mix) and heavy doughs (like bread), you might need to adjust the height slightly between uses. Heavy doughs benefit from a slightly lower bowl so the hook can grip and knead effectively.
Aligning the Mixer Head and Tilt Mechanism
Another key area to check is the head tilt. The head of your KitchenAid mixer should lift and lower smoothly, with no wobbling or resistance. If it feels loose or uneven, it can affect how the attachments interact with the bowl.
Signs of a Misaligned Head
– The head tilts unevenly to one side.
– You hear grinding or clicking when lifting or lowering.
– The mixer vibrates excessively during use.
– Attachments don’t spin in a perfect circle.
These issues often stem from loose screws or worn bushings in the tilt mechanism. Over time, repeated use can cause the head to shift slightly out of alignment.
How to Realign the Head
1. **Unplug the mixer** – Again, safety is essential.
2. **Lift the head fully** – This gives you access to the hinge area.
3. **Inspect the hinge screws** – Look for two large screws on either side of the head where it connects to the base. These may have loosened over time.
4. **Tighten the screws** – Use a wrench or socket that fits the screw heads. Tighten them evenly—don’t over-tighten, as this can strip the threads.
5. **Test the tilt** – Lower and raise the head a few times. It should move smoothly and stay level.
6. **Check for play** – Gently wiggle the head side to side. There should be minimal movement. If it’s still loose, you may need to consult a technician or consider replacing worn parts.
Note: Some older models have a wear pad or bushing that can degrade. If tightening the screws doesn’t help, this part may need replacement. KitchenAid offers replacement kits, or you can visit an authorized service center.
Adjusting Attachments for Optimal Performance
Even with perfect bowl height and head alignment, your mixer won’t perform well if the attachments aren’t properly seated. Each attachment—flat beater, wire whisk, dough hook—has a specific role, and they must be installed correctly.
How to Attach Mixing Tools
1. **Lift the head** – Always raise the head before attaching or removing tools.
2. **Align the attachment hub** – The attachment fits into a round hub on the underside of the head.
3. **Push and twist** – Insert the attachment and give it a firm twist clockwise until it locks into place.
4. **Give it a gentle tug** – Make sure it’s secure before lowering the head.
If an attachment feels loose or wobbles, it’s not seated correctly. This can cause uneven mixing or even damage the mixer’s gears.
When to Use Each Attachment
– **Flat Beater:** Ideal for batters, cookies, and mashed potatoes. It scrapes the sides and bottom for even mixing.
– **Wire Whisk:** Perfect for whipping cream, egg whites, or light sauces. It incorporates air for volume.
– **Dough Hook:** Designed for bread, pizza dough, and other heavy mixtures. It mimics hand-kneading.
Using the wrong attachment—like a whisk for thick dough—can strain the motor and lead to poor results. Always match the tool to the task.
Fine-Tuning for Different Recipes
Not all recipes require the same mixer settings. Adjusting your KitchenAid stand mixer isn’t a one-time fix—it’s an ongoing process that adapts to what you’re making.
Light Batters vs. Heavy Doughs
For light batters (like cake or pancake mix), you want the beater to gently fold ingredients without overworking them. A slightly higher bowl setting works best here.
For heavy doughs (like sourdough or pizza crust), the dough hook needs to dig in and knead effectively. Lower the bowl slightly so the hook can grip the dough and pull it around the bowl.
Speed Settings Matter Too
KitchenAid mixers have 10 speed settings, but not all are created equal. Use lower speeds (1–4) for mixing dry ingredients or combining batters. Medium speeds (5–7) work well for creaming butter and sugar or whipping cream. Reserve high speeds (8–10) for light tasks like whipping egg whites—but only for short bursts to avoid overbeating.
Pro tip: Always start on Stir (the lowest setting) and gradually increase. This prevents splattering and gives you better control.
Maintenance Tips to Keep Your Mixer in Top Shape
Adjusting your mixer is just one part of the equation. Regular maintenance ensures it stays in great condition for years.
Clean After Every Use
Wipe down the exterior with a damp cloth. Remove the bowl and attachments and wash them in warm, soapy water. For stubborn residue, soak them briefly. Never submerge the mixer base in water.
For a deeper clean, check out our guide on how to clean a stand mixer—it covers everything from removing grease buildup to caring for the motor housing.
Lubricate Moving Parts (If Needed)
Most modern KitchenAid mixers are sealed and don’t require lubrication. However, if you notice grinding noises or stiffness, it may be time for a professional service. Avoid DIY lubrication unless you’re experienced—using the wrong oil can damage internal gears.
Store Properly
Keep your mixer in a dry, cool place. If you don’t use it often, cover it to prevent dust buildup. Avoid stacking heavy items on top, as this can warp the housing.
And if you’re new to stand mixers or want to explore all the ways this tool can transform your kitchen, don’t miss our ultimate guide of stand mixer in kitchen. It covers everything from choosing the right model to creative uses beyond baking.
Conclusion
Learning how to adjust a KitchenAid stand mixer might seem like a small task, but it makes a big difference in how your machine performs. From bowl height to head alignment and attachment use, these simple tweaks ensure smoother operation, better mixing, and a longer lifespan for your appliance.
Remember, your mixer is an investment—treat it with care. Regular checks and adjustments prevent minor issues from becoming major problems. And when in doubt, consult the user manual or reach out to KitchenAid support.
With a little attention and the right know-how, your KitchenAid stand mixer will keep delivering perfect results, batch after batch. So go ahead—whip up that bread dough, beat those egg whites, and bake with confidence. Your mixer is ready when you are.
Frequently Asked Questions
How often should I adjust my KitchenAid stand mixer?
You don’t need to adjust it every time you use it, but check the bowl height and head alignment every few months or if you notice performance issues like noise or splattering.
Can I adjust the bowl height while the mixer is running?
No, always unplug the mixer before making any adjustments. Never attempt to turn the adjustment screw while the machine is powered on.
Why is my mixer making a grinding noise?
This is often due to incorrect bowl height or a misaligned head. Check the adjustment screw and tighten the hinge screws. If the noise persists, the gears may need professional servicing.
Do all KitchenAid models have the same adjustment process?
Most tilt-head and bowl-lift models use similar adjustment methods, but always refer to your specific model’s manual. Some newer models may have slight variations.
Can I use my mixer if the bowl wobbles?
A slight wobble is normal, but excessive movement can damage the mixer. Check the bowl for cracks and ensure it’s properly seated. If the issue continues, inspect the base and adjustment screw.
What should I do if my attachments won’t lock in place?
Make sure the head is fully raised and the attachment hub is clean. Push the attachment in firmly and twist clockwise until it clicks. If it still won’t lock, the hub or attachment may be damaged.