


Absolutely—your stand mixer is more than just a cookie dough machine. With the right attachment and technique, it can knead bread dough quickly and evenly, saving you time and effort. Whether you’re making sourdough, whole wheat, or classic white bread, your mixer handles the heavy lifting so you can focus on flavor and texture.
If you’ve ever stood at your counter, arms aching from folding and pressing sticky dough for what feels like forever, you’re not alone. Kneading by hand is therapeutic for some—but for many home bakers, it’s a tedious chore that slows down the joy of baking fresh bread. That’s where your trusty stand mixer comes in. You might already use it for whipping cream or mixing cake batter, but did you know it’s also a powerhouse for kneading bread dough?
The short answer? Yes—your stand mixer can absolutely knead bread dough, and it does a fantastic job. In fact, many professional bakers and seasoned home enthusiasts rely on their mixers to develop gluten quickly and consistently. With the right technique, you’ll get smooth, elastic dough in minutes instead of the 10–15 minutes (or more) it might take by hand. Plus, you’ll avoid sore wrists and flour-covered countertops. But like any kitchen tool, success depends on using it correctly.
Key Takeaways
- Stand mixers are excellent for kneading dough: They save time and reduce physical strain compared to hand kneading.
- Use the dough hook attachment: This tool is specifically designed to mimic hand kneading and develops gluten effectively.
- Monitor dough consistency closely: Over-kneading or under-kneading can affect rise and texture—watch for smooth, elastic dough.
- Adjust speed and time based on recipe: Most bread doughs need 5–10 minutes on low to medium-low speed.
- Don’t overload your mixer: Stick to your model’s recommended capacity to avoid motor strain or damage.
- Clean your mixer promptly: Dried dough can gum up gears—learn how to clean a stand mixer properly after use.
📑 Table of Contents
Why Use a Stand Mixer for Kneading Bread Dough?
Kneading is the process of working flour, water, yeast, and salt into a cohesive, elastic mass. This develops gluten—the protein network that gives bread its structure and chew. While hand kneading gives you tactile feedback, a stand mixer offers speed, consistency, and convenience.
One major advantage is time savings. What might take 10–15 minutes of vigorous hand kneading can be done in 5–8 minutes in a mixer. That’s especially helpful when you’re baking multiple loaves or experimenting with high-hydration doughs like ciabatta or sourdough, which can be sticky and tough to manage by hand.
Another benefit? Consistency. Your mixer applies even pressure and motion, reducing the risk of under- or over-kneading. This leads to more predictable results—especially helpful for beginners still learning how dough should feel.
And let’s not forget ergonomics. If you have arthritis, carpal tunnel, or simply prefer to multitask while baking (hello, cleaning the kitchen while your dough rises!), a stand mixer is a game-changer.
Choosing the Right Attachment: The Dough Hook
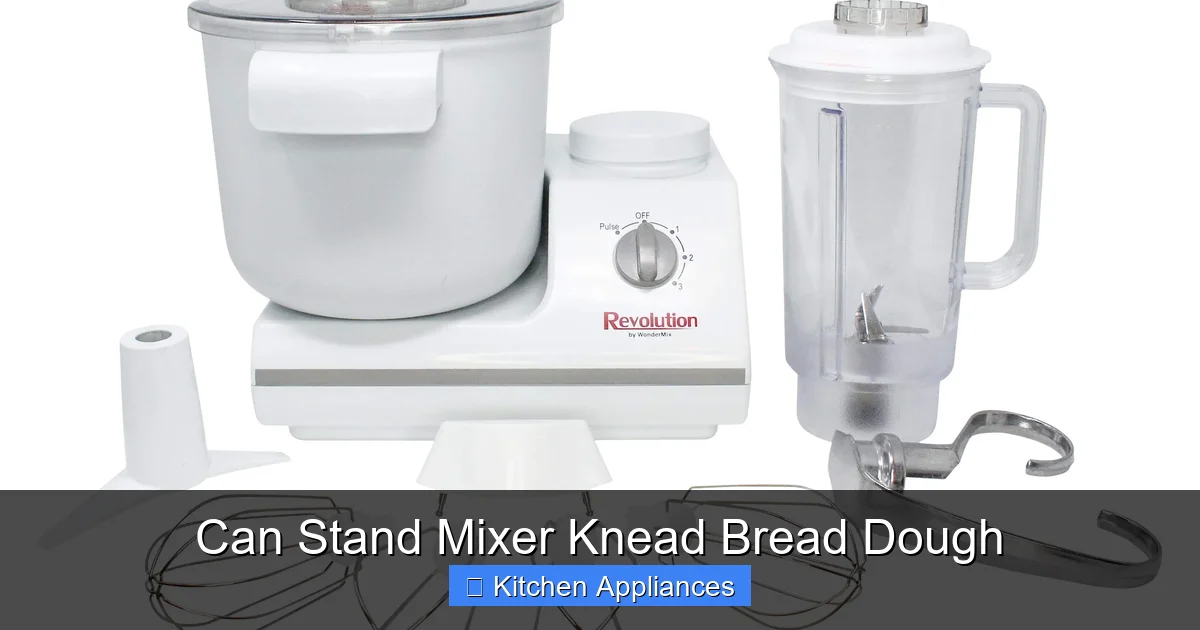
Visual guide about Can Stand Mixer Knead Bread Dough
Image source: m.media-amazon.com
Not all mixer attachments are created equal—and for kneading bread, you need the right tool for the job.
What Is a Dough Hook?
The dough hook is a spiral-shaped attachment designed specifically for kneading heavy, dense doughs like bread, pizza, and pasta. Unlike the flat beater (used for batters) or whisk (for whipping), the dough hook mimics the motion of hand kneading—folding, stretching, and pressing the dough around the bowl.
Most stand mixers come with a dough hook, but if yours didn’t, you can usually purchase one separately. Make sure it’s compatible with your model—KitchenAid, for example, offers universal-fit hooks for most of their mixers.
How It Works
As the hook rotates, it pulls the dough down from the sides of the bowl and pushes it through the center. This constant folding action develops gluten efficiently. The spiral design also helps prevent the dough from climbing up the hook, which can happen with older or poorly designed models.
Pro tip: If your dough starts wrapping around the center post, stop the mixer, scrape it down, and restart. This usually happens with very wet doughs or if you’re mixing at too high a speed.
Step-by-Step Guide to Kneading Dough in a Stand Mixer
Ready to put your mixer to work? Here’s how to knead bread dough like a pro.
1. Mix Ingredients First
Start by combining your dry and wet ingredients in the mixer bowl. Use the paddle attachment on low speed to mix everything until just combined—this prevents flour from flying everywhere and ensures even hydration.
2. Switch to the Dough Hook
Once the dough forms a shaggy mass, switch to the dough hook. Begin kneading on the lowest speed (usually “Stir” or “2” on KitchenAid models). Let it run for about 1–2 minutes to bring the dough together.
3. Increase Speed Gradually
After the dough starts to clean the sides of the bowl, increase the speed to medium-low (around “4”). Knead for 5–8 minutes, depending on the recipe. Watch for signs of proper development: the dough should become smooth, elastic, and slightly tacky but not sticky.
4. Perform the Windowpane Test
To check if your dough is ready, do the windowpane test: pinch off a small piece and gently stretch it. If it forms a thin, translucent membrane without tearing, your gluten is well-developed. If it tears easily, knead for another minute or two.
5. Let It Rest
Once kneaded, shape the dough into a ball, place it in a lightly oiled bowl, cover, and let it rise according to your recipe. Your mixer has done the hard work—now it’s time to let the yeast do its magic.
Tips for Success and Common Mistakes to Avoid
Even with the best tools, things can go sideways. Here’s how to avoid common pitfalls.
Don’t Overload the Mixer
Every stand mixer has a maximum capacity—usually listed in the manual. Overloading it with too much dough can strain the motor, cause overheating, or even damage the gears. As a rule of thumb, don’t exceed 75% of the recommended dough weight.
For example, a 5-quart mixer typically handles up to 3–4 pounds of dough. If you’re making two large loaves, consider mixing in batches.
Avoid High Speeds
Kneading on high speed can overwork the dough, generate excess heat, and degrade gluten. Stick to low or medium-low speeds. High speed is better suited for whipping or mixing light batters—not dense bread dough.
Watch for Dough Climbing
If your dough starts climbing up the hook and wrapping around the center post, stop the mixer immediately. Scrape the dough down, break it into smaller pieces, and restart. This often happens with high-hydration doughs or if the mixer is too full.
Keep an Eye on Temperature
Dough that gets too warm during mixing can kill yeast or cause over-fermentation. If your kitchen is hot, use cool water and consider chilling the bowl beforehand. Conversely, in cold kitchens, use slightly warm water to help the dough rise properly.
Best Types of Bread to Knead in a Stand Mixer
Not all breads are created equal—and some benefit more than others from machine kneading.
Classic White Bread
This is the perfect candidate. It’s moderately hydrated, easy to handle, and responds well to consistent kneading. Your mixer will develop a soft, fluffy crumb in minutes.
Whole Wheat and Multigrain Breads
These doughs are denser and can be harder to knead by hand due to the added bran and seeds. A stand mixer makes quick work of integrating ingredients and developing structure.
Sourdough and Artisan Doughs
High-hydration doughs like sourdough can be tricky, but a mixer helps. Use a gentle knead (5–7 minutes on low) to avoid overworking. Many bakers prefer a combination of machine kneading and stretch-and-fold techniques during the bulk fermentation stage.
Pizza Dough
Pizza dough is forgiving and benefits from a short, vigorous knead. Your mixer can handle a double batch easily—perfect for family pizza night.
Maintaining Your Stand Mixer for Long-Term Use
Your mixer is an investment—and like any tool, it needs care to last.
Clean After Every Use
Dried dough can harden and damage moving parts. Always remove the dough hook and bowl, wash them with warm, soapy water, and dry thoroughly. Wipe down the mixer body with a damp cloth—never submerge the base.
For a deep clean, check out our guide on how to clean a stand mixer to keep it running smoothly.
Check for Wear and Tear
Over time, gears can wear down, especially if you frequently knead heavy doughs. Listen for unusual noises or grinding sounds. If your mixer struggles or smells like burning, stop using it and consult the manufacturer.
Lubricate When Needed
Some models require occasional lubrication of the gears. Refer to your user manual—many modern mixers are sealed and don’t need regular maintenance, but it’s good to know.
And if you’re curious about all the ways your mixer can help in the kitchen, don’t miss our ultimate guide of stand mixer in kitchen—it covers everything from pasta making to meat grinding.
Conclusion
So, can a stand mixer knead bread dough? Absolutely—and it’s one of the best ways to make consistent, high-quality bread at home. With the right attachment, technique, and a little attention to detail, your mixer becomes a powerful ally in the kitchen. Say goodbye to tired arms and hello to more time enjoying the aroma of fresh-baked bread.
Whether you’re a weekend baker or a daily bread maker, your stand mixer opens up new possibilities. From rustic sourdough to fluffy dinner rolls, the machine does the heavy lifting so you can focus on creativity and flavor. Just remember to respect its limits, clean it well, and use the right settings.
In the end, baking should be joyful—not exhausting. Let your stand mixer handle the kneading, and savor the results: warm, golden loaves that taste like home.
Frequently Asked Questions
Can all stand mixers knead bread dough?
Most modern stand mixers can knead bread dough, especially if they come with a dough hook. However, older or low-powered models may struggle with heavy or high-hydration doughs. Always check your mixer’s capacity and avoid overloading it.
How long should I knead dough in a stand mixer?
Typically, 5–10 minutes on low to medium-low speed is sufficient. The exact time depends on the recipe and dough type. Use the windowpane test to check if gluten is fully developed.
Can I over-knead dough in a stand mixer?
Yes, over-kneading can break down gluten, leading to dense or tough bread. Watch for smooth, elastic dough and stop once it passes the windowpane test. If the dough feels tough or starts to tear easily, you’ve gone too far.
What if my dough sticks to the bowl?
Lightly oil the bowl before mixing, or add a teaspoon of water if the dough is too dry. Avoid adding too much flour—this can make the bread heavy. A slightly tacky dough is normal and often desirable.
Can I use the paddle attachment to knead dough?
No—the paddle isn’t designed for kneading. It doesn’t develop gluten effectively and can leave unincorporated pockets. Always use the dough hook for best results.
Is it safe to leave the mixer running unattended?
It’s best to stay nearby, especially during the first few minutes. Dough can climb the hook or shift unexpectedly. If you must step away, use a timer and keep the speed low.
