

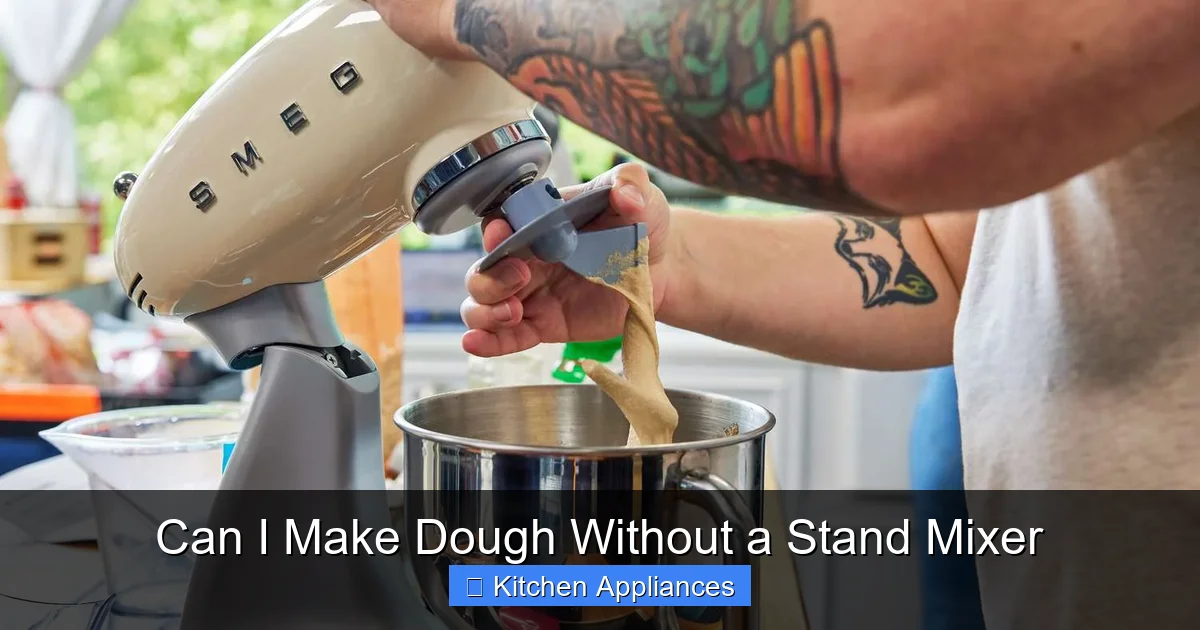
You absolutely can make dough without a stand mixer—no fancy equipment needed. With simple techniques like hand kneading, using a food processor, or even a wooden spoon, you’ll get delicious results every time.
If you’ve ever stood in your kitchen staring at a recipe that calls for a stand mixer, wondering if you really need one to make great dough, let us put your mind at ease: **you don’t**. Whether you’re baking bread, pizza, rolls, or even cinnamon buns, you can absolutely make dough without a stand mixer—and often with better control and satisfaction.
Stand mixers, like the ones covered in our Ultimate Guide Of Stand Mixer In Kitchen, are fantastic tools. They save time, reduce arm fatigue, and deliver consistent results. But they’re not magic. At their core, they simply automate the mixing and kneading process—something your hands (or a few clever kitchen hacks) can do just as well. In fact, many professional bakers still prefer hand methods for certain doughs because they allow for greater intuition and connection to the ingredients.
So if you’re working with a tight budget, limited counter space, or just haven’t taken the plunge on a stand mixer yet, don’t worry. You’re not missing out on great baking. With the right techniques and a bit of patience, you can create soft, elastic, and delicious dough using nothing more than your hands and a few basic tools.
Key Takeaways
- Hand kneading works perfectly: With a little time and effort, your hands can develop gluten just as well as a machine.
- Food processors speed things up: A good food processor can mix and knead dough in under 5 minutes—ideal for busy bakers.
- No-knead recipes are a game-changer: These rely on long fermentation instead of mechanical kneading, yielding tender, flavorful bread.
- Essential tools make a difference: A sturdy bowl, dough scraper, and bench knife help streamline the process.
- Practice improves results: The more you make dough by hand, the better you’ll understand texture, hydration, and timing.
- Stand mixers are helpful—but not required: While convenient, they’re not essential for great baking.
📑 Table of Contents
Why You Don’t Need a Stand Mixer for Dough
The idea that a stand mixer is essential for making dough is a common misconception—one often fueled by glossy recipe photos and high-end baking shows. But the truth is, dough has been made by hand for thousands of years, long before electric mixers existed. From rustic sourdough loaves to fluffy dinner rolls, traditional bakers relied on skill, time, and touch—not machines.
One of the biggest advantages of making dough without a stand mixer is **control**. When you mix and knead by hand, you develop a feel for the dough’s texture. You can instantly tell if it’s too dry, too wet, or just right. This tactile feedback helps you adjust on the fly, leading to better results. Plus, hand mixing encourages mindfulness in the kitchen. There’s something deeply satisfying about working the dough with your hands, feeling it transform from a shaggy mess into a smooth, elastic ball.
Another benefit? **Accessibility**. Not everyone can afford a $300+ stand mixer, and that shouldn’t stop them from baking. With simple tools and techniques, anyone can make great dough at home. Whether you’re a beginner or a seasoned baker, learning to work without a mixer builds confidence and deepens your understanding of the baking process.
Hand Kneading: The Classic Method
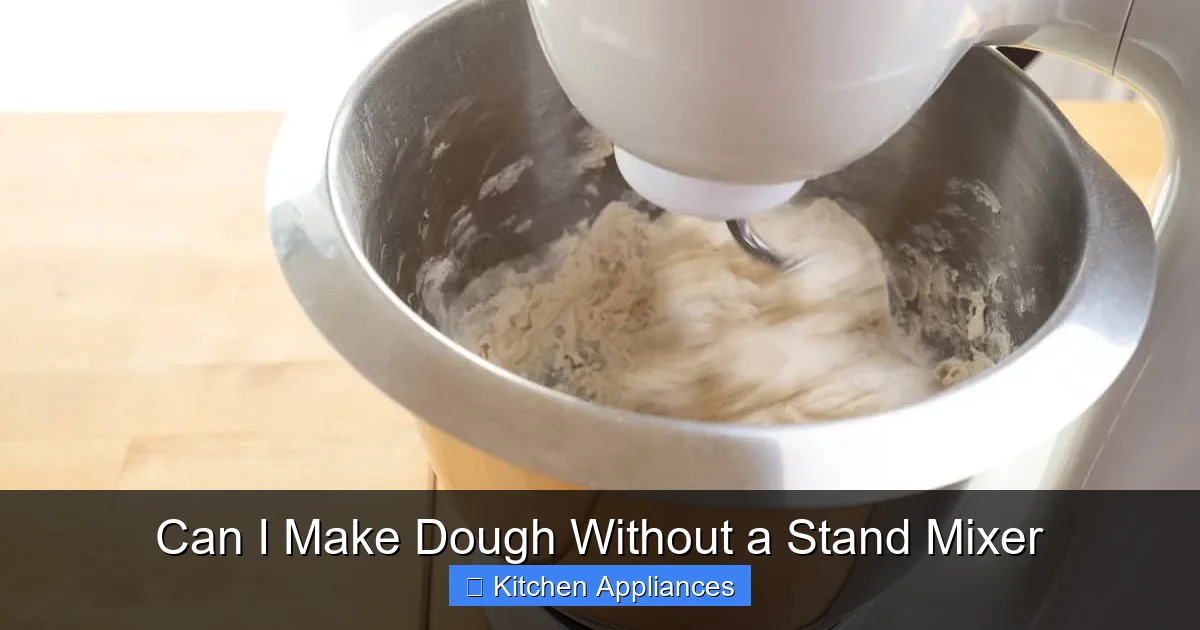
Visual guide about Can I Make Dough Without a Stand Mixer
Image source: storables.com
Hand kneading is the most traditional—and effective—way to make dough without a stand mixer. It’s simple, requires no special equipment, and gives you full control over the process.
Step-by-Step Hand Kneading
Start by mixing your dry ingredients (flour, salt, yeast, sugar) in a large bowl. Make a well in the center and add your wet ingredients (water, milk, oil, or eggs). Use a wooden spoon or your hands to bring everything together into a rough, shaggy dough.
Turn the dough out onto a lightly floured surface. Begin kneading by pushing the dough away from you with the heel of your hand, then folding it back over itself. Rotate the dough a quarter turn and repeat. This push-fold-turn motion develops gluten, which gives bread its structure and chew.
How Long Should You Knead?
Most doughs need about 8–10 minutes of hand kneading to become smooth, elastic, and slightly springy. You’ll know it’s ready when the dough passes the “windowpane test”: stretch a small piece gently between your fingers. If it forms a thin, translucent membrane without tearing, it’s perfectly kneaded.
Tips for Success
– Keep your hands lightly floured to prevent sticking, but avoid adding too much extra flour—this can make the dough tough.
– Work on a clean, sturdy surface. A wooden or marble countertop works best.
– If the dough feels too sticky, let it rest for 5–10 minutes. This allows the flour to hydrate and makes kneading easier.
Hand kneading might take a bit more effort, but it’s a skill worth mastering. Plus, it doubles as a great arm workout!
Alternative Tools for Mixing Dough
If you’re not ready to knead by hand every time, don’t worry—there are several other tools that can help you make dough without a stand mixer.
Food Processor
A food processor is one of the fastest and most efficient alternatives. It can mix and knead dough in under 5 minutes, making it ideal for busy bakers. Simply add all your ingredients and pulse until a ball forms. Be careful not to overmix—once the dough comes together, stop immediately.
Food processors work especially well for pie crusts, pizza dough, and quick breads. Just remember to clean the blade and bowl thoroughly between uses to avoid overheating the motor.
Hand Mixer with Dough Hooks
While not as powerful as a stand mixer, a handheld mixer with dough hooks can handle lighter doughs like pizza or biscuit dough. It won’t replace a stand mixer for heavy bread doughs, but it’s a decent middle ground for occasional use.
Wooden Spoon and Bowl
For no-knead or low-hydration doughs, a sturdy wooden spoon and a large mixing bowl are all you need. Simply stir the ingredients until combined, then let the dough rest. This method works great for rustic breads and focaccia.
Dough Whisk
A dough whisk is a long-handled tool with a thick, coiled wire that cuts through sticky dough without getting clogged. It’s perfect for mixing thick batters and doughs by hand, especially when you want to avoid overworking the mixture.
No-Knead Dough: The Lazy Baker’s Best Friend
If the thought of kneading makes you break out in a sweat, no-knead dough is your new best friend. This method relies on time—not muscle—to develop gluten, resulting in tender, flavorful bread with minimal effort.
How No-Knead Dough Works
No-knead recipes use a long, slow fermentation (usually 12–18 hours at room temperature) to allow natural enzymes and yeast to break down the flour and develop structure. The result is a dough that’s airy, chewy, and full of complex flavor—all without a single minute of kneading.
Basic No-Knead Bread Recipe
Mix 3 cups of flour, 1½ teaspoons of salt, ¼ teaspoon of instant yeast, and 1½ cups of warm water in a large bowl. Stir until combined, cover with plastic wrap, and let it sit at room temperature for 12–18 hours. The dough will rise, bubble, and double in size.
The next day, gently fold the dough a few times, shape it into a ball, and let it rise again for 1–2 hours. Bake in a preheated Dutch oven at 450°F (230°C) for 30 minutes with the lid on, then 15 minutes uncovered. The result? A crusty, artisan-style loaf that tastes like it came from a bakery.
Why It’s Perfect for Beginners
No-knead dough is forgiving, flexible, and nearly impossible to mess up. It’s perfect for first-time bakers or anyone who wants great bread without the hassle. Plus, it frees up your time—you can mix the dough in the evening and bake it the next morning.
Tips for Success When Making Dough by Hand
Making dough without a stand mixer is totally doable, but a few smart tips can make the process smoother and more enjoyable.
Use the Right Flour
Not all flours are created equal. Bread flour has a higher protein content, which helps develop strong gluten. All-purpose flour works for most doughs, but for chewy breads, bread flour is best. Avoid self-rising flour unless the recipe specifically calls for it.
Control the Temperature
Warm ingredients (like water and milk) help activate yeast and make mixing easier. Aim for liquids around 100–110°F (38–43°C). Too hot, and you’ll kill the yeast; too cold, and fermentation will be slow.
Don’t Over-Flour
It’s tempting to add extra flour when the dough feels sticky, but this can lead to dense, dry bread. Instead, use just enough flour to prevent sticking, and let the dough rest if it’s too wet. Hydration is key to a soft, airy crumb.
Be Patient
Good dough takes time. Rushing the rise or under-kneading will affect the final texture. Give your dough the time it needs to develop flavor and structure.
Practice the Windowpane Test
This simple test tells you when your dough is properly kneaded. Stretch a small piece gently. If it forms a thin, see-through membrane without tearing, you’re good to go.
When a Stand Mixer Might Still Be Helpful
While you can absolutely make dough without a stand mixer, there are times when one can be a real asset. If you bake frequently, make large batches, or work with heavy doughs (like bagels or brioche), a stand mixer saves time and effort. It’s also helpful if you have arthritis or limited hand strength.
But remember: a stand mixer is a tool, not a requirement. Many bakers use them for convenience, not necessity. And as we’ve shown, you can achieve excellent results without one.
If you’re curious about stand mixers and how they fit into a home kitchen, check out our Ultimate Guide Of Stand Mixer In Kitchen for a detailed breakdown of features, brands, and uses.
Conclusion
So, can you make dough without a stand mixer? Absolutely. In fact, you might find that hand methods give you more control, deeper understanding, and greater satisfaction. Whether you’re kneading by hand, using a food processor, or trying a no-knead recipe, great dough is within reach—no expensive appliance required.
Baking is as much about intuition and practice as it is about tools. The more you work with dough, the more you’ll trust your instincts and adapt techniques to suit your style. And who knows? You might even prefer the hands-on approach.
So go ahead—roll up your sleeves, flour your hands, and start mixing. Your next loaf of bread is waiting.
Frequently Asked Questions
Can I make bread dough without a stand mixer?
Yes! You can make bread dough by hand using kneading techniques, a food processor, or no-knead methods. All produce excellent results with a little time and practice.
What’s the best way to knead dough by hand?
Use the push-fold-turn method on a floured surface. Knead for 8–10 minutes until the dough is smooth, elastic, and passes the windowpane test.
Can a food processor replace a stand mixer for dough?
Yes, for many types of dough—especially pizza, pie crust, and quick breads. Just avoid overmixing to prevent tough results.
Is no-knead dough really effective?
Absolutely. No-knead dough uses long fermentation to develop gluten naturally, resulting in tender, flavorful bread with minimal effort.
Do I need special tools to make dough without a mixer?
Not really. A large bowl, wooden spoon, dough scraper, and clean surface are enough. A dough whisk or food processor can help but aren’t required.
Why is my hand-kneaded dough too tough?
This usually happens from over-kneading or adding too much flour. Use only enough flour to prevent sticking, and stop kneading once the dough is smooth and elastic.
