

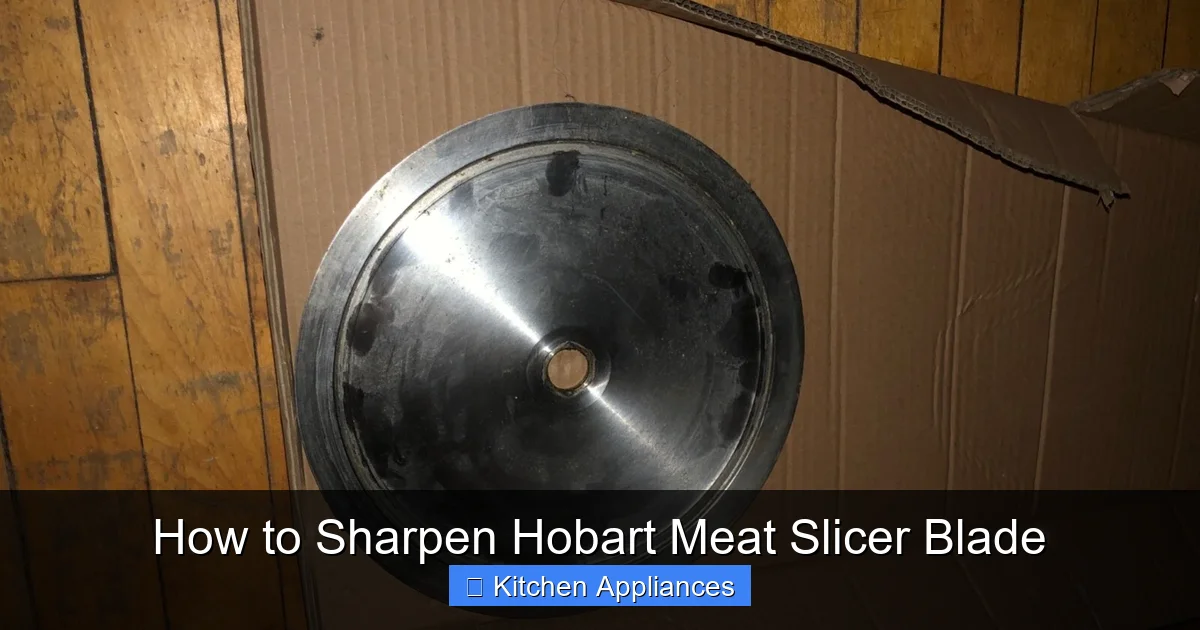
Keep your Hobart meat slicer performing optimally by learning how to sharpen its blade. A sharp blade is crucial for safe, efficient, and clean slicing of meats and cheeses. This guide breaks down the process step-by-step, ensuring your slicer delivers professional-grade results every time.
Are you tired of your Hobart meat slicer struggling to make clean, precise cuts? Does it feel like you’re pushing more than slicing? If so, your slicer’s blade is likely dull. Just like any other sharp tool in your kitchen, a meat slicer blade needs regular maintenance to perform at its best. And when it comes to meat slicers, Hobart is a name synonymous with quality and durability. Their machines are built to last, but even the most robust blades will eventually lose their edge with consistent use.
Learning how to sharpen your Hobart meat slicer blade isn’t just about achieving aesthetically pleasing slices; it’s about safety and efficiency. A dull blade requires more force to cut, increasing the risk of slipping and causing injury. It also tears rather than slices, leading to messy results and potentially affecting the texture and appearance of your food. This guide will walk you through the process, empowering you to keep your Hobart meat slicer in peak condition, ready to tackle everything from delicate deli meats to firm cheeses.
Think of it like maintaining your knives. You wouldn’t use a dull chef’s knife for intricate prep work, would you? The same principle applies to your meat slicer. A sharp blade glides through food, creating beautiful, uniform slices with minimal effort. It’s a skill that can save you time, reduce frustration, and elevate the quality of your culinary creations, whether you’re preparing for a large gathering or simply slicing lunch meat for sandwiches.
Key Takeaways
- Safety First: Always unplug your Hobart meat slicer and wear protective gloves before handling the blade.
- Essential Tools: You’ll need a sharpening stone or a dedicated meat slicer sharpening kit, a honing steel, and cleaning supplies.
- Blade Removal: Carefully remove the blade following your specific Hobart model’s instructions to avoid injury.
- Sharpening Technique: Use consistent, even strokes with the sharpening stone, maintaining the correct angle for optimal results.
- Honing Importance: Regularly hone the blade between sharpenings to maintain its edge and prolong its sharpness.
- Cleaning and Reassembly: Thoroughly clean the blade and slicer after sharpening and reassemble with care.
- Professional Help: If you’re uncomfortable or unsure, consider professional sharpening services for your Hobart meat slicer blade.
Quick Answers to Common Questions
How often should I sharpen my Hobart meat slicer blade?
The frequency depends on usage. For heavy use, you might need to sharpen every few months. For lighter use, once or twice a year might suffice. Regular honing between sharpenings is key to maintaining the edge.
Can I use an electric knife sharpener?
Generally, no. Electric knife sharpeners are designed for kitchen knives and may not accommodate the size or shape of a meat slicer blade, potentially damaging both the blade and the sharpener.
What is the ideal sharpening angle for a Hobart meat slicer blade?
The typical sharpening angle for most meat slicer blades, including Hobart, is between 15 and 20 degrees. Always check your owner’s manual for specific recommendations.
How do I know if my Hobart meat slicer blade is dull?
A dull blade will struggle to cut cleanly, requiring more force, tearing food instead of slicing it, and leaving ragged edges on meats and cheeses.
What happens if I don’t sharpen my meat slicer blade?
A dull blade is less effective, requires more effort to use, increases the risk of accidents, and produces messy, uneven slices, impacting the quality and presentation of your food.
📑 Table of Contents
Understanding Your Hobart Meat Slicer Blade
Before you dive into sharpening, it’s important to understand a few things about your Hobart meat slicer blade. These blades are typically made from high-quality stainless steel, designed for durability and sharpness. However, the very nature of slicing through food, especially tough meats or frozen items, will inevitably cause wear and tear. The edge becomes rounded, making it less effective.
Blade Types and Materials
Most Hobart meat slicer blades are circular and made of hardened stainless steel. Some models might have slightly different blade configurations, but the general principle of sharpening remains the same. The material is crucial; it needs to be hard enough to hold an edge but also somewhat flexible to prevent chipping.
The Importance of a Sharp Blade
A sharp blade is paramount for several reasons:
- Safety: Less force is needed, reducing the risk of accidents.
- Clean Cuts: Achieves precise, uniform slices without tearing or shredding.
- Efficiency: Slices food quickly and smoothly.
- Food Quality: Preserves the texture and appearance of meats and cheeses.
A dull blade can compress food rather than cut it, leading to a less appealing final product.
Gathering Your Sharpening Supplies
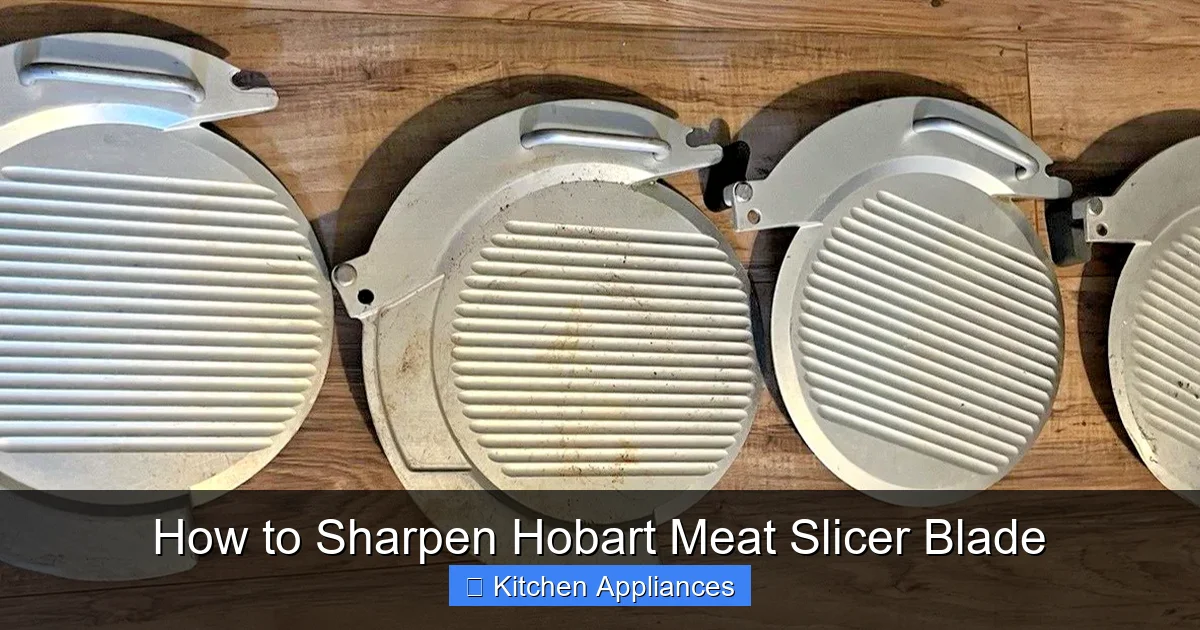
Visual guide about How to Sharpen Hobart Meat Slicer Blade
Image source: i.ebayimg.com
To properly sharpen your Hobart meat slicer blade, you’ll need a few specific tools. Using the right equipment ensures a safe and effective sharpening process.
Essential Tools for Sharpening
- Sharpening Stone or System: This is your primary tool. You can use a whetstone (a flat, abrasive stone) or a dedicated meat slicer blade sharpening kit. These kits often come with a jig to help maintain the correct angle.
- Honing Steel: A honing steel doesn’t actually sharpen the blade; it realigns the microscopic teeth of the edge. It’s used regularly to maintain sharpness between full sharpening sessions.
- Protective Gloves: Always wear cut-resistant gloves when handling the blade.
- Cleaning Supplies: Food-grade degreaser, warm water, clean cloths or paper towels, and a sanitizing solution are essential for cleaning the blade before and after sharpening.
- Lubricant (Optional): Some sharpening stones work best with water or oil as a lubricant. Check the manufacturer’s recommendations for your stone.
Choosing the Right Sharpening Stone
Sharpening stones come in various grits. For meat slicer blades, you’ll generally want a medium-grit stone (around 400-600) to start shaping the edge and a fine-grit stone (around 1000-2000) for refining and polishing it. If you opt for a sharpening kit, it will usually include the appropriate stones or abrasive discs.
Step-by-Step Guide to Sharpening Your Hobart Meat Slicer Blade
Now, let’s get to the core of the process. Remember, patience and precision are key.
Step 1: Safety First and Preparation
- Unplug the Slicer: This is the most critical safety step. Ensure the slicer is completely disconnected from the power source.
- Wear Gloves: Put on your cut-resistant gloves. The blade is extremely sharp, even when dull.
- Clean the Slicer: Before removing the blade, give the area around it a good cleaning. This prevents debris from falling into the slicer’s mechanism.
Step 2: Removing the Blade
This step varies slightly depending on your specific Hobart model. Consult your owner’s manual for precise instructions. Generally, it involves:
- Locating the blade retaining nut or screw.
- Using the appropriate tool (often included with the slicer or kit) to loosen and remove the nut.
- Carefully lifting the blade off the slicer’s spindle. Handle it by the dull center or edge, avoiding the sharp cutting surface.
Step 3: Sharpening the Blade
This is where you restore the edge.
Using a Sharpening Stone:
- Prepare the Stone: If using a water stone, soak it according to the manufacturer’s instructions. If using an oil stone, apply a few drops of honing oil.
- Find the Angle: The ideal sharpening angle for most meat slicer blades is around 15-20 degrees. If you have a sharpening jig, it will help maintain this angle. If not, you can approximate it by placing the stone flat on a surface and tilting the blade at that angle.
- Sharpen One Side: Place the blade against the stone at the correct angle. Using firm, consistent pressure, draw the blade across the stone in a smooth motion, moving from the heel of the blade to the tip. Lift the blade and return it to the starting position. Repeat this motion several times.
- Flip and Sharpen the Other Side: Carefully flip the blade over and repeat the process on the other side, maintaining the same angle and pressure.
- Switch to Fine Grit: Once you’ve worked the medium grit, switch to your fine-grit stone to refine the edge. Use fewer strokes here, focusing on polishing the bevel.
Using a Sharpening Kit:
If you’re using a commercial sharpening kit designed for meat slicers, follow the kit’s specific instructions. These kits often feature guides and jigs that make maintaining the correct angle much easier.
Step 4: Honing the Blade
After sharpening, the blade will have a keen edge, but it might also have a slight burr (a thin, wire-like ridge). Honing helps align this edge.
- Use the Honing Steel: Hold the honing steel vertically or horizontally. Place the heel of the blade against the steel at the sharpening angle (15-20 degrees).
- Draw and Glide: Gently draw the blade down the steel, maintaining the angle, from heel to tip.
- Alternate Sides: Repeat this process on the other side of the steel, alternating sides of the blade. Do this for several passes until you feel the burr is gone and the edge is smooth.
Step 5: Cleaning and Reassembly
This is a crucial step to ensure food safety.
- Thorough Cleaning: Wash the blade thoroughly with warm, soapy water and a food-grade degreaser. Rinse well.
- Sanitize: Sanitize the blade using an approved food-grade sanitizer.
- Dry Completely: Dry the blade completely with a clean cloth to prevent rust.
- Reinstall the Blade: Carefully place the blade back onto the spindle, ensuring it’s seated correctly. Reattach the retaining nut or screw and tighten it securely.
- Final Clean: Wipe down the entire slicer with a sanitizing solution.
Maintaining Your Hobart Meat Slicer Blade
Sharpening is important, but regular maintenance will keep your blade in top condition for longer.
The Role of Regular Honing
As mentioned, honing is not sharpening but a vital part of blade maintenance. If you use your slicer frequently, honing the blade before each use can significantly extend the time between full sharpenings. A quick pass with a honing steel can realign the edge, making it feel sharp again.
Cleaning After Every Use
Always clean your Hobart meat slicer thoroughly after each use. Food debris left on the blade or slicer can harden, making cleaning more difficult and potentially dulling the blade over time. Proper cleaning also prevents bacterial growth. For detailed cleaning instructions, you might find resources on how to clean kitchen appliances like stand mixers helpful, as the principles of thoroughness and sanitization apply.
When to Seek Professional Sharpening
While you can sharpen your Hobart meat slicer blade at home, there might be times when professional help is the best option. If your blade is significantly damaged, chipped, or if you’re simply not comfortable performing the sharpening yourself, a professional sharpening service can restore it to factory condition. They have specialized equipment and expertise to ensure a perfect edge without damaging the blade.
Troubleshooting Common Sharpening Issues
Even with careful attention, you might encounter a few problems.
Uneven Sharpening
If you notice the blade isn’t cutting evenly, it’s likely due to inconsistent pressure or angle during sharpening. Practice makes perfect. Try using a jig if possible, or focus on maintaining a steady hand.
Creating a Burr
A burr is a sign that you’ve removed some metal, but it hasn’t been properly refined or removed. Excessive burring usually means you’re using too much pressure or an incorrect angle. Honing should remove most minor burrs.
Not Getting Sharp Enough
This could be due to using the wrong grit stones, not spending enough time on the sharpening process, or the blade being too far gone and needing professional attention. Ensure you’re progressing from a coarser grit to a finer one.
Conclusion
Learning how to sharpen your Hobart meat slicer blade is an investment in your kitchen equipment and your culinary results. It ensures safety, efficiency, and the pristine quality of your sliced foods. By following these steps, gathering the right tools, and practicing patience, you can maintain that razor-sharp edge that makes your Hobart slicer a true workhorse. Remember to prioritize safety at every step, and don’t hesitate to seek professional help if needed. A well-maintained slicer will serve you faithfully for years to come, delivering perfect slices every time.
Frequently Asked Questions
Is it safe to remove the blade from my Hobart meat slicer?
Yes, it is safe as long as you follow the manufacturer’s instructions carefully and take necessary precautions, such as unplugging the machine and wearing protective gloves.
What is the difference between sharpening and honing a blade?
Sharpening removes metal to create a new, sharp edge. Honing, on the other hand, realigns the existing microscopic teeth of the blade to maintain its sharpness without removing significant metal.
Can I use a sharpening steel instead of a stone?
A sharpening steel is primarily for honing, not for sharpening. While it’s essential for maintaining an edge, it cannot restore a truly dull blade. You need a sharpening stone or a sharpening system for that.
How can I tell if I’ve sharpened the blade correctly?
A correctly sharpened blade will glide through food effortlessly, producing clean, uniform slices. You should also be able to feel a smooth, sharp edge without any noticeable burrs after honing.
What should I do if my blade is chipped?
A chipped blade is more complex to fix at home. It’s often best to take it to a professional sharpening service. They have the tools and expertise to repair or regrind the blade safely and effectively.
How do I store my meat slicer blade after sharpening?
Ensure the blade is completely dry and clean. Store it in a safe place where it won’t be exposed to moisture and where its sharp edge is protected, perhaps in its original packaging or a blade guard.
