

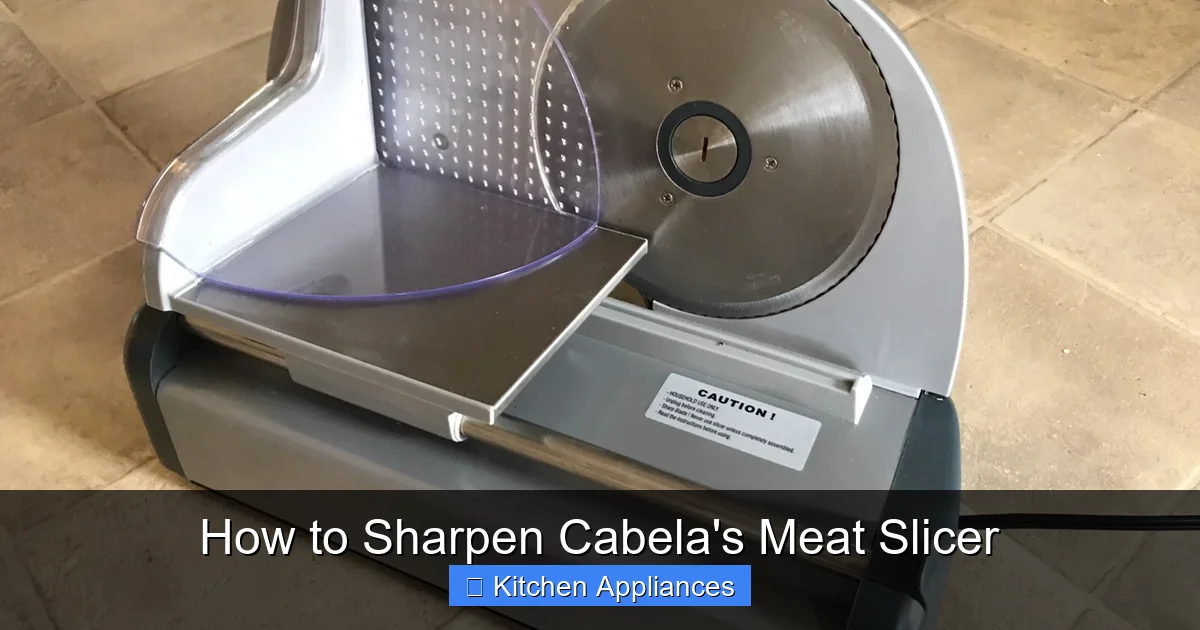
Keeping your Cabela’s meat slicer sharp is crucial for efficient and safe operation. This guide will walk you through the simple steps to sharpen its blade, ensuring smooth, clean cuts for all your slicing needs. Don’t let a dull blade slow you down!
Hey there, fellow food enthusiasts and home chefs! If you’ve got a Cabela’s meat slicer, you know what a game-changer it can be. Whether you’re slicing deli meats for sandwiches, preparing roasts for dinner, or even tackling jerky, a sharp blade makes all the difference. But like any tool, your slicer’s blade needs a little TLC to keep performing at its best. A dull blade doesn’t just make for raggedy cuts; it can also be more dangerous because you have to apply more pressure.
That’s where learning how to sharpen Cabela’s meat slicer comes in. It might sound a little intimidating at first, but trust me, it’s a straightforward process that will save you time, money, and a whole lot of frustration. Think of it like this: you wouldn’t try to slice tomatoes with a butter knife, right? The same logic applies to your meat slicer. A sharp blade glides through food effortlessly, giving you those perfect, uniform slices every single time. In this guide, we’ll break down everything you need to know to get your Cabela’s meat slicer blade back to razor-sharp perfection.
So, grab your Cabela’s meat slicer manual, a cup of your favorite beverage, and let’s dive into making sure your slicer is always ready for action. We’ll cover safety precautions, the tools you’ll need, the actual sharpening process, and some tips to keep it sharp for longer.
Key Takeaways
- Safety First: Always unplug your Cabela’s meat slicer before attempting to sharpen the blade.
- Gather Your Tools: You’ll need a sharpening stone or a honing steel, and potentially a blade removal tool if your model requires it.
- Blade Removal (if necessary): Understand how to safely detach the blade from your specific Cabela’s slicer model.
- Sharpening Technique: Use a consistent angle (usually around 15-20 degrees) when moving the blade across the sharpening stone.
- Honing vs. Sharpening: Know the difference between honing (realignment) and sharpening (edge creation) and when to do each.
- Cleaning is Key: Thoroughly clean the blade and slicer components after sharpening to remove any metal filings.
- Regular Maintenance: Frequent honing will keep your blade sharp longer, reducing the need for full sharpening.
Quick Answers to Common Questions
How often should I sharpen my Cabela’s meat slicer?
You should hone your Cabela’s meat slicer blade regularly, perhaps before or after each significant use, to maintain its sharpness. Full sharpening is typically needed only when honing is no longer effective, which might be every few months to a year depending on usage.
Can I use a knife sharpener on my meat slicer blade?
Generally, it’s not recommended to use standard knife sharpeners, especially electric ones, on meat slicer blades. Meat slicer blades often have specific bevel angles and thicknesses that require specialized sharpening stones or honing steels for the best results and to avoid damage.
What is the difference between honing and sharpening?
Sharpening removes metal to create a new, sharp edge. Honing, on the other hand, realigns the existing microscopic teeth on the blade’s edge without removing significant metal, thus maintaining sharpness.
My Cabela’s meat slicer blade seems dull, but honing doesn’t help. What should I do?
If honing doesn’t restore sharpness, the blade likely needs actual sharpening. This means using a sharpening stone to grind away a small amount of metal and re-establish the cutting edge. Refer to the main content of this guide for detailed sharpening instructions.
Is it safe to sharpen the blade while it’s still attached to the slicer?
While some slicers might allow for sharpening with the blade attached, it’s generally safer and more effective to remove the blade if your model allows it. This gives you better control and access to the entire edge. Always ensure the slicer is unplugged if you attempt to sharpen with the blade attached.
📑 Table of Contents
Why Sharpening Your Cabela’s Meat Slicer is Essential
Before we get our hands dirty, let’s talk about *why* this is so important. Your Cabela’s meat slicer is designed for precision. The thin, sharp blade is its most critical component. Over time, even with careful use, the blade’s edge will naturally wear down. This is called dulling. A dull blade struggles to cut cleanly. Instead of slicing through meat, it tends to tear or crush it. This results in uneven slices, which can affect cooking times and presentation.
Beyond aesthetics, a dull blade is a safety hazard. When you have to force a dull blade through food, there’s a much higher risk of slipping. This can lead to serious cuts. A sharp blade requires less pressure, allowing for a controlled and safe slicing experience. Regular sharpening ensures your Cabela’s meat slicer remains both effective and safe to use. It’s an investment in the longevity and performance of your appliance.
Preparing for the Sharpening Process
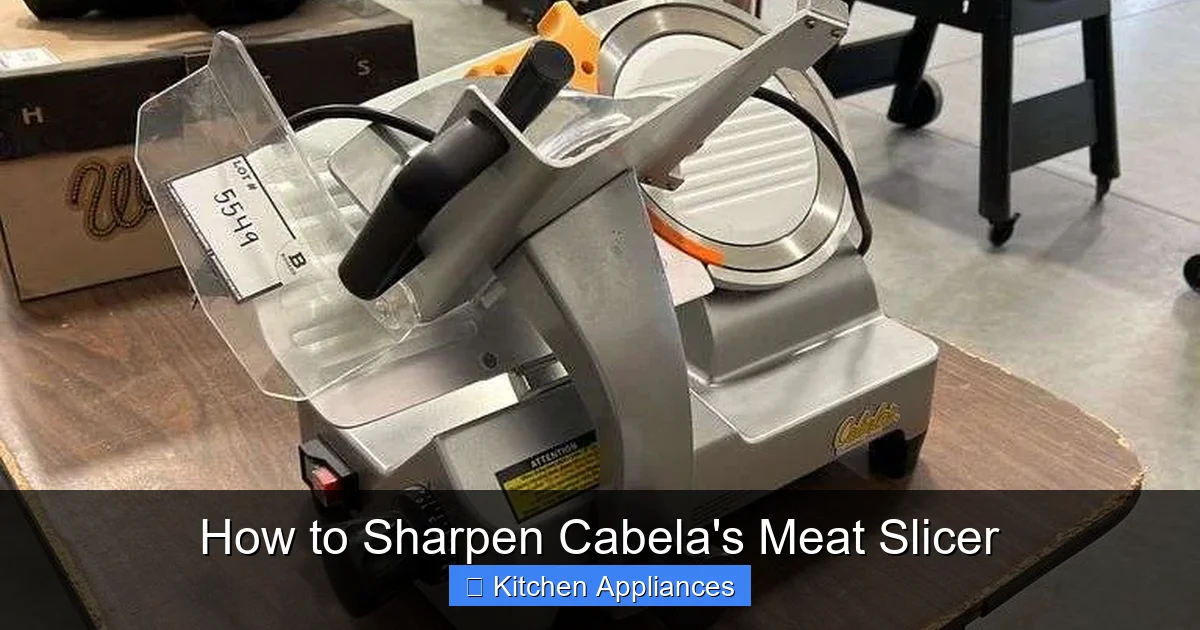
Visual guide about How to Sharpen Cabela’s Meat Slicer
Image source: auctioneersoftware.s3.amazonaws.com
Safety is paramount when working with any kitchen appliance, especially one with a sharp blade like your Cabela’s meat slicer. Before you do anything else, the absolute first step is to **unplug the slicer from the power outlet.** Never attempt to sharpen the blade while the machine is connected to electricity. This prevents accidental activation, which could lead to severe injury.
Next, consult your Cabela’s meat slicer’s owner’s manual. Different models might have slightly different blade removal mechanisms or specific recommendations. It’s always best to refer to the manufacturer’s guidelines.
Gathering Your Sharpening Tools
You won’t need a whole workshop for this. Most home sharpening tasks can be accomplished with a few key items:
* Sharpening Stone (Whetstone): This is the primary tool for actually sharpening the blade. You’ll want a dual-grit stone (coarse and fine grit) or a dedicated sharpening system. For most meat slicer blades, a medium grit (around 1000) for initial sharpening and a fine grit (around 3000-6000) for refining the edge is ideal. If you only have one stone, a medium-fine grit is a good compromise.
* Honing Steel: A honing steel (or honing rod) is used to realign the microscopic teeth on the blade’s edge. It doesn’t remove metal like a stone does, but it keeps the edge straight and sharp between sharpenings. Many Cabela’s slicers come with a small honing rod.
* Blade Removal Tool (if applicable): Some Cabela’s slicer models have a thumb screw or a locking mechanism to release the blade. Check your manual. If yours requires a specific tool, make sure you have it.
* Gloves: Wearing cut-resistant gloves is highly recommended for an extra layer of protection.
* Cleaning Supplies: Paper towels, warm soapy water, and a clean, dry towel are essential for cleaning the blade and the slicer.
Safely Removing the Blade (If Necessary)
Many Cabela’s meat slicer models allow you to remove the blade for easier cleaning and sharpening. This is usually the preferred method for a thorough sharpening.
1. **Ensure the slicer is unplugged.** Double-check!
2. **Locate the blade locking mechanism.** This is often a small knob or screw on the center of the blade guard.
3. **Follow your manual’s instructions.** You might need to turn a knob, press a button, or use a specific tool.
4. **Carefully grasp the blade.** Once released, grip the blade *by its sides*, avoiding the sharp edge. Some blades have a small notch or handle to help with grip. If not, use a thick cloth or gloves to protect your fingers.
5. **Set the blade aside safely.** Place it on a clean surface where it won’t roll or be accidentally touched.
If your Cabela’s meat slicer’s blade is not designed to be removed easily, don’t force it. You can often sharpen it while it’s still attached, though it might be a bit more awkward. Your manual will be the best guide here.
How to Sharpen Your Cabela’s Meat Slicer Blade
Now for the main event! Sharpening involves removing a small amount of metal from the blade’s edge to create a new, sharp bevel.
Using a Sharpening Stone
This is the most effective method for truly sharpening the blade.
1. **Prepare your stone:** If you’re using a water stone, soak it in water according to the manufacturer’s instructions. Usually, this means submerging it until the bubbles stop. If you’re using an oil stone, apply a light coat of honing oil.
2. **Find the correct angle:** This is crucial. Most meat slicer blades have a bevel angle of around 15-20 degrees. Look at the existing angle on the blade’s edge. You want to maintain this angle as you sharpen. Many sharpening guides or angle guides can help you keep it consistent.
3. **Sharpening motion:** Place the blade flat against the coarse grit side of the stone at the correct angle. Using firm, even pressure, draw the blade across the stone in one direction, moving from the heel of the blade to the tip. Imagine you are trying to slice off a thin layer of the stone. Lift the blade and repeat. Do this several times.
4. **Switch to the other side:** Flip the blade over and repeat the process on the other side, maintaining the same angle and pressure. You’re creating a “burr” – a tiny ridge of metal – on the opposite side of the edge. You’ll feel this burr when you carefully run your finger *away* from the edge.
5. **Refine the edge:** Once you’ve established a burr on both sides, switch to the fine grit side of the stone. Repeat the sharpening motion on both sides of the blade, using lighter pressure. This refines the edge and removes the burr, making it razor-sharp.
6. **Stropping (Optional):** For an even finer edge, you can “strop” the blade on a piece of leather, a strop loaded with compound, or even the fine side of your stone without any water/oil. This polishes the edge to perfection.
Using a Honing Steel
A honing steel is used more frequently than sharpening stones. It’s for *maintaining* an already sharp edge, not for re-creating one from scratch. If your blade has become slightly dull, honing might be all you need.
1. **Hold the steel vertically:** Place the tip of the honing steel on a stable surface (like a cutting board or a towel to prevent slipping).
2. **Position the blade:** Bring the heel of the blade to the top of the steel, maintaining the correct sharpening angle (15-20 degrees).
3. **Draw down the steel:** Gently draw the blade down the steel in a smooth, arching motion, moving from heel to tip. Apply very light pressure.
4. **Repeat on the other side:** Repeat the process on the other side of the blade.
5. **Alternate sides:** Do 5-10 strokes on each side, alternating. This realigns the microscopic teeth of the blade’s edge.
Cleaning and Reassembly
After sharpening, proper cleaning is essential.
1. **Wash the blade:** Wash the blade thoroughly with warm, soapy water to remove any metal filings or residue from the sharpening process. Use a soft cloth or sponge. Be extremely careful with the sharp edge.
2. **Dry completely:** Dry the blade immediately and thoroughly with a clean, dry towel. Any moisture left on the blade can lead to rust.
3. **Clean the slicer:** While the blade is off, take the opportunity to clean the rest of your Cabela’s meat slicer. This is a great time to tackle areas that are hard to reach during regular cleaning. You can clean parts like the food tray, pusher, and blade guard. If your slicer has removable parts, check your manual to see if they are dishwasher safe, or wash them by hand. Proper cleaning is just as important as effective sharpening. For instance, just like you’d want to know how to clean a stand mixer, keeping your slicer pristine is key.
4. **Reassemble the blade:** Carefully reattach the blade to your Cabela’s meat slicer, following the reverse steps of removal. Ensure it is securely locked in place.
5. **Final Check:** Give the blade a gentle spin (with the slicer still unplugged!) to ensure it moves freely and is securely attached.
Tips for Maintaining Your Slicer’s Sharpness
Sharpening is great, but maintenance is even better. Here are some tips to keep your Cabela’s meat slicer’s blade sharp for as long as possible:
* **Hone regularly:** Make honing a part of your routine. If you use your slicer frequently, hone the blade before or after each significant use. This takes seconds and prevents the blade from becoming truly dull.
* **Use the right blade:** Ensure you’re using the correct blade for the task. While Cabela’s slicers typically come with a versatile blade, specialized blades might exist for certain tasks.
* **Slice appropriate foods:** Avoid slicing bones, very hard cheeses, or frozen meats (unless your slicer is specifically designed for it). These can chip or damage the blade.
* **Store properly:** If you remove the blade for storage, keep it in a protective sleeve or a designated safe place where it won’t be bumped or damaged.
* **Clean after every use:** Food residue left on the blade can harden and make it duller over time. Cleaning it immediately after use is best.
* **Don’t over-sharpen:** Sharpening removes metal. Over-sharpening will shorten the lifespan of your blade. Honing is your friend for everyday use.
By following these steps and tips, you’ll ensure your Cabela’s meat slicer remains a reliable and efficient tool in your kitchen for years to come. Enjoy those perfect, effortless slices!
Frequently Asked Questions
How do I know if my Cabela’s meat slicer blade is dull?
A dull blade will struggle to cut cleanly, often tearing or crushing the meat instead of slicing it. You might also notice you need to apply more force than usual, and the cuts will appear ragged rather than smooth and uniform.
What kind of sharpening stone should I use for my Cabela’s meat slicer?
A dual-grit water stone or oil stone is ideal. Look for one with a medium grit (around 1000) for initial sharpening and a fine grit (around 3000-6000) for refining the edge. If you can only get one, a medium-fine grit is a good compromise.
Can I damage my Cabela’s meat slicer by sharpening it incorrectly?
Yes, improper sharpening can damage the blade. Sharpening at the wrong angle, using too much pressure, or using an inappropriate sharpening tool can ruin the blade’s edge, making it less effective or even unusable.
How should I clean my Cabela’s meat slicer after sharpening?
After sharpening, wash the blade with warm, soapy water to remove metal filings. Dry it immediately and thoroughly. Clean the rest of the slicer components as well, referring to your owner’s manual for specific cleaning instructions.
Where can I find replacement blades for my Cabela’s meat slicer?
Replacement blades can typically be purchased directly from Cabela’s website, their retail stores, or through authorized appliance parts dealers. Always ensure you order the correct blade model for your specific slicer.
What is the ideal angle for sharpening a meat slicer blade?
The ideal angle for most meat slicer blades is between 15 and 20 degrees. It’s crucial to maintain this angle consistently throughout the sharpening process to achieve the best results and preserve the blade’s integrity.
