

You absolutely can use a stand mixer to make pie crust, and it can save you time and effort. While traditionalists swear by hand-cutting butter into flour, a stand mixer offers consistency and speed—especially for bakers with arthritis or limited hand strength. With the right technique, your mixer can produce a tender, flaky crust that rivals handmade versions.
If you’ve ever stood over a bowl, cutting cold butter into flour with a pastry cutter or two knives, you know how tedious pie crust can be. Your hands get cold, your arms get tired, and sometimes the butter warms up too much—ruining that flaky texture you’re after. That’s why so many home bakers wonder: *Can I use a stand mixer to make pie crust?*
The short answer? Absolutely. In fact, using a stand mixer might just become your new favorite kitchen hack. While old-school bakers may raise an eyebrow, modern stand mixers—like the popular models covered in our Ultimate Guide Of Stand Mixer In Kitchen—are perfectly capable of handling pie dough with precision and ease. The key is knowing how to use the right attachment, when to stop mixing, and how to keep your ingredients cold.
Whether you’re making a classic apple pie, a savory quiche, or a double-crust cherry pie, a stand mixer can streamline the process without sacrificing quality. Let’s dive into exactly how to do it—and why it might just change the way you bake.
Key Takeaways
- Yes, a stand mixer works for pie crust: It efficiently cuts butter into flour, saving time and reducing hand fatigue.
- Use the paddle attachment, not the whisk: The paddle gently incorporates ingredients without overmixing.
- Keep ingredients cold: Cold butter and ice water are essential for a flaky texture—don’t skip this step.
- Don’t overmix: Stop as soon as the dough just comes together to avoid tough crust.
- Chill the dough before rolling: Resting the dough ensures easier handling and better baking results.
- Adjust liquid gradually: Add ice water one tablespoon at a time to avoid a soggy or crumbly dough.
- Great for bulk baking: Ideal for making multiple crusts quickly, like for holiday pies or meal prep.
📑 Table of Contents
Why Use a Stand Mixer for Pie Crust?
Many bakers assume that pie crust must be made by hand to achieve that perfect flakiness. But the truth is, a stand mixer can actually give you more consistent results—especially if you’re making multiple crusts or working in a warm kitchen.
One of the biggest advantages is speed. Cutting butter into flour by hand can take 5–10 minutes of constant work. With a stand mixer, it’s done in under two minutes. This reduces the chance of the butter warming up, which is crucial for creating those delicate layers.
Another benefit? Comfort. If you have arthritis, carpal tunnel, or simply prefer to avoid hand fatigue, a stand mixer does the heavy lifting for you. It’s also great for beginners who might struggle with the technique of hand-cutting butter evenly.
And let’s be honest—cleaning one bowl and one attachment is way easier than scrubbing pastry cutters, knives, and multiple bowls. Efficiency meets ease, all while still delivering a tender, flaky crust.
Choosing the Right Attachment
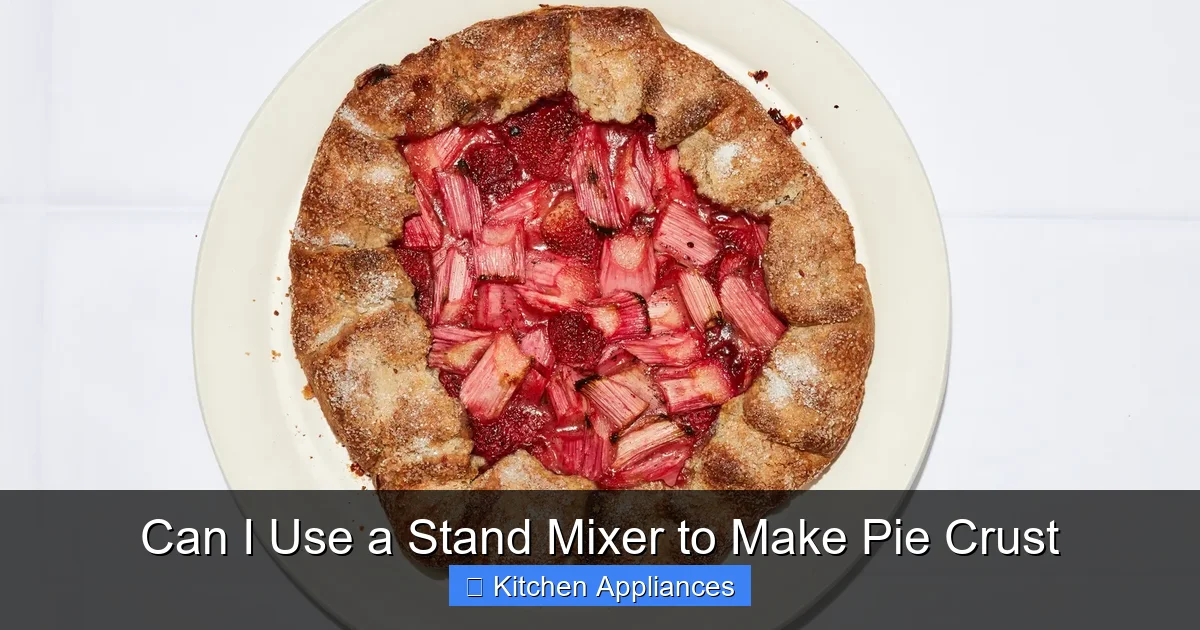
Visual guide about Can I Use a Stand Mixer to Make Pie Crust
Image source: assets.bonappetit.com
Not all stand mixer attachments are created equal when it comes to pie dough. Here’s what you need to know:
The Paddle Attachment Is Your Best Friend
The flat, paddle-shaped attachment is ideal for pie crust because it gently cuts the butter into the flour without overworking the dough. It mimics the motion of a pastry cutter but does it faster and more evenly.
Avoid using the whisk attachment—it’s designed for whipping and aerating, not cutting fat into dry ingredients. Using it will overmix the dough and create a tough, chewy crust instead of a flaky one.
The dough hook is also not recommended for the initial mixing stage. While it’s great for kneading bread, it can overdevelop gluten in pie dough, leading to a dense result. Save it for yeast-based recipes.
Speed Settings Matter
Start on low speed (setting 2 or 3 on most mixers) to combine the flour and butter. This prevents flour from flying everywhere and ensures even distribution. Once the mixture looks like coarse crumbs, you can increase to medium-low to incorporate the water.
Never use high speed—this risks warming the butter and overmixing the dough. Remember: pie crust should be mixed just until it holds together when pinched.
Step-by-Step Guide to Making Pie Crust in a Stand Mixer
Now that you know the basics, here’s a simple, reliable method for making pie crust using your stand mixer. This recipe makes one 9-inch single crust—double it for a double-crust pie.
Ingredients
– 1 ¼ cups (160g) all-purpose flour
– ½ teaspoon salt
– ½ cup (113g) cold unsalted butter, cut into ½-inch cubes
– 3–4 tablespoons ice water
Instructions
1. **Chill your tools:** Place the mixing bowl and paddle attachment in the freezer for 10 minutes before starting. Cold tools help keep the butter firm.
2. **Combine dry ingredients:** Add the flour and salt to the chilled bowl. Mix on low for 10 seconds to combine.
3. **Cut in the butter:** Add the cold butter cubes. Mix on low for 1–2 minutes, or until the mixture resembles coarse crumbs with some pea-sized butter pieces remaining. These butter chunks are essential for flakiness.
4. **Add water gradually:** With the mixer running on low, add ice water one tablespoon at a time. Stop as soon as the dough begins to clump together. You may not need all the water—this depends on humidity and flour type.
5. **Form the dough:** Turn the dough out onto a lightly floured surface. Gently press it into a disk, wrap in plastic wrap, and chill for at least 30 minutes (or up to 2 days).
6. **Roll and bake:** Roll out the chilled dough on a floured surface and transfer to your pie dish. Proceed with your favorite filling and baking instructions.
Pro Tips for Success
– **Use very cold butter:** Frozen butter works too—just grate it with a box grater before adding.
– **Don’t skip the chill time:** Resting the dough relaxes the gluten and firms up the butter, making it easier to roll and less likely to shrink during baking.
– **Flour your surface lightly:** Too much flour can make the crust tough. Use just enough to prevent sticking.
Common Mistakes to Avoid
Even with a stand mixer, it’s easy to go wrong if you’re not careful. Here are the top pitfalls and how to avoid them:
Overmixing the Dough
This is the #1 mistake. Overmixing develops gluten, which leads to a tough, chewy crust instead of a tender, flaky one. Stop mixing as soon as the dough holds together. It’s okay if it’s a little shaggy—it’ll come together when you knead it briefly by hand.
Using Warm Butter
Warm butter melts into the flour, creating a mealy texture instead of distinct layers. Always use cold butter straight from the fridge—or even freeze it for 15 minutes before using.
Adding Too Much Water
Too much water makes the dough sticky and hard to handle. Add it slowly, one tablespoon at a time, and stop when the dough just begins to clump. You can always add more, but you can’t take it away.
Skipping the Chill Time
Rolling out warm dough is frustrating—it sticks, tears, and shrinks in the oven. Always chill the dough for at least 30 minutes before rolling. For best results, chill it overnight.
Stand Mixer vs. Hand Method: Which Is Better?
This is a classic debate among bakers. Let’s break it down:
Hand Method
Pros: Full control, traditional technique, no special equipment needed.
Cons: Time-consuming, physically demanding, inconsistent results for beginners.
Stand Mixer Method
Pros: Fast, consistent, less physical effort, great for bulk baking.
Cons: Requires a stand mixer, risk of overmixing if not careful.
So which is better? It depends on your needs. If you’re making one pie occasionally and enjoy the hands-on process, the hand method works fine. But if you’re baking often, have physical limitations, or want reliable results every time, the stand mixer is a game-changer.
Many professional bakers actually use mixers for pie dough—so don’t let tradition hold you back. The goal is a delicious, flaky crust, no matter how you get there.
Best Stand Mixers for Pie Crust
Not all stand mixers are created equal. If you’re in the market for one—or just curious which models work best—here are a few top picks:
– **KitchenAid Artisan Series:** A classic choice with a powerful motor and durable construction. The paddle attachment is perfect for pie dough.
– **Cuisinart Precision Master:** Offers excellent speed control and comes with multiple attachments. Great for bakers on a budget.
– **Bosch Universal Plus:** Known for its powerful motor and quiet operation. Ideal for heavy-duty baking.
For a deeper dive into choosing the right model, check out our Ultimate Guide Of Stand Mixer In Kitchen, where we compare features, performance, and value.
Final Thoughts
So, can you use a stand mixer to make pie crust? The answer is a resounding yes—and it might just become your preferred method. With the right technique, your mixer can produce a tender, flaky crust that’s every bit as good as one made by hand, but with far less effort.
The key is to keep ingredients cold, use the paddle attachment, and stop mixing as soon as the dough comes together. Add water gradually, chill the dough, and you’ll be rewarded with a pie crust that’s easy to roll, bakes beautifully, and tastes amazing.
Whether you’re a busy parent, a holiday baker, or someone who just wants to simplify the process, your stand mixer is a powerful tool in the pie-making arsenal. Give it a try—you might never go back to cutting butter by hand again.
Frequently Asked Questions
Can I use a stand mixer for all types of pie crust?
Yes, a stand mixer works well for traditional flaky crusts, shortcrust pastry, and even gluten-free versions. Just adjust ingredients as needed and follow the same mixing principles.
What if my dough is too dry or too wet?
If the dough is too dry, add ice water one teaspoon at a time until it holds together. If it’s too wet, sprinkle in a little flour and mix briefly—don’t overcorrect.
Can I make the dough ahead of time?
Absolutely. Wrap the dough in plastic and refrigerate for up to 2 days or freeze for up to 3 months. Thaw in the fridge before rolling.
Do I need to flour the mixing bowl?
No, but chilling the bowl helps keep the butter cold. Lightly greasing it can prevent sticking, but it’s not necessary.
Can I use a hand mixer instead?
A hand mixer can work in a pinch, but it’s harder to control and may overmix the dough. A stand mixer offers better consistency and power.
Why is my crust shrinking in the oven?
This usually happens when the dough isn’t chilled long enough or is overworked. Always chill the dough before baking, and avoid stretching it when placing it in the pie dish.
