

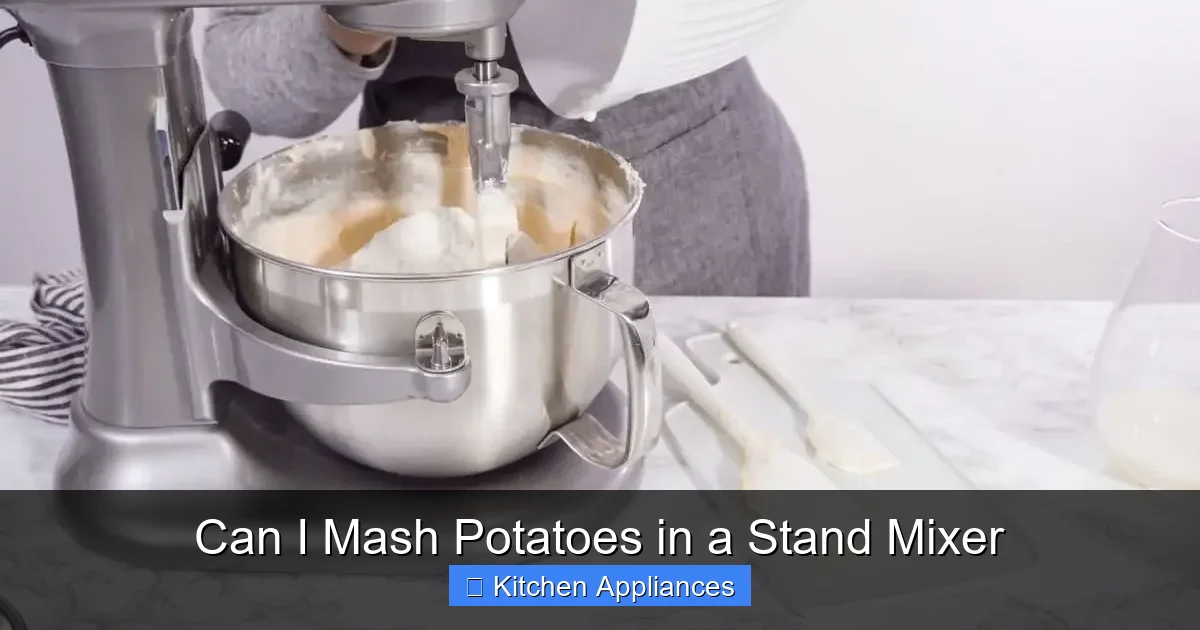
You absolutely can mash potatoes in a stand mixer—and it’s easier than you think. With the right technique and attachment, your mixer delivers smooth, fluffy results without the elbow grease. Just avoid overmixing to keep that perfect texture.
If you’ve ever stood at the counter, arm aching from mashing potatoes with a hand masher, you’re not alone. Mashed potatoes are a comfort food staple—creamy, buttery, and oh-so-satisfying—but the process can be surprisingly labor-intensive. That’s why so many home cooks wonder: *Can I mash potatoes in a stand mixer?* The short answer? Absolutely. The long answer? It’s a bit more nuanced, but totally doable with the right approach.
Your stand mixer isn’t just for whipping cream or kneading bread dough. It’s a versatile kitchen workhorse that can simplify many tasks—including mashing potatoes. Whether you’re preparing a holiday feast or just a cozy weeknight dinner, using your stand mixer can save time and effort. But like any kitchen hack, there’s a right way and a wrong way to do it. Done correctly, you’ll get velvety, restaurant-quality mashed potatoes. Done poorly? You might end up with gluey, overworked spuds that no one wants to eat.
In this guide, we’ll walk you through everything you need to know about mashing potatoes in a stand mixer—from the best attachments to use, to common mistakes to avoid, and pro tips for perfect results every time. Whether you’re a seasoned home chef or a beginner with a mixer, you’ll walk away with the confidence to tackle mashed potatoes like a pro.
Key Takeaways
- Yes, a stand mixer can mash potatoes: Using the paddle attachment on low speed effectively breaks down cooked potatoes into creamy mash.
- Avoid the whisk attachment: It incorporates too much air and can make potatoes gluey or foamy.
- Don’t overmix: Overworking the potatoes releases excess starch, leading to a gummy, sticky texture.
- Warm your dairy beforehand: Adding cold milk or butter shocks the potatoes and affects consistency.
- Drain potatoes thoroughly: Excess water dilutes flavor and makes mashing harder.
- Season gradually: Add salt and spices in stages to control the final taste.
- Great for large batches: A stand mixer handles big quantities better than hand mashing or ricers.
📑 Table of Contents
Why Use a Stand Mixer for Mashed Potatoes?
Let’s start with the “why.” Why would you even consider using a stand mixer for mashed potatoes when traditional tools like potato mashers, ricers, or food mills exist?
First, it’s about efficiency. If you’re cooking for a crowd—say, Thanksgiving dinner for 12—mashing by hand can take forever. A stand mixer speeds up the process significantly. It’s especially helpful if you have wrist or hand discomfort, as it does the heavy lifting for you.
Second, consistency. A stand mixer delivers even mixing, which means no lumps (unless you like them, of course). The paddle attachment gently breaks down the potatoes while incorporating butter, milk, and seasonings uniformly. This leads to a smoother, more professional texture than hand mashing, which can sometimes leave uneven chunks.
Third, multitasking. While your mixer is working, you can prep other parts of the meal—gravy, green beans, or dessert. It frees up your hands and your attention, making meal prep less stressful.
And finally, it’s just plain convenient. If you already own a stand mixer—like a KitchenAid or similar model—you’re likely using it for baking. Why not put it to work for savory dishes too? It’s a great way to get more value from your kitchen appliances.
What Attachment Should You Use?
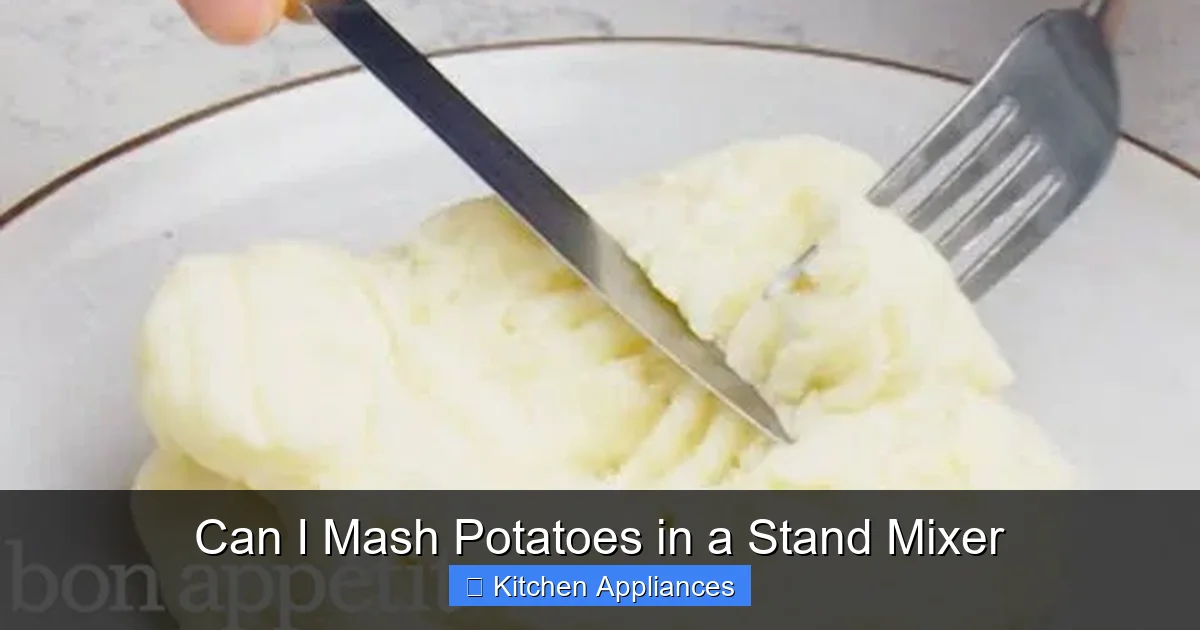
Visual guide about Can I Mash Potatoes in a Stand Mixer
Image source: toastfried.com
Not all stand mixer attachments are created equal when it comes to mashing potatoes. The key is choosing the right one for the job.
The Paddle Attachment: Your Best Friend
The flat beater, or paddle attachment, is the ideal tool for mashing potatoes. Its broad, flat surface gently presses and folds the potatoes without overworking them. Use it on low to medium-low speed (usually setting 2 or 4 on most mixers) to avoid splattering and ensure even mashing.
Start by adding your cooked, drained potatoes to the mixing bowl. Add softened butter first—this helps coat the potato cells and prevents them from becoming gummy. Then, gradually pour in warm milk or cream while the mixer runs. This slow incorporation helps achieve a creamy, lump-free texture.
Avoid the Whisk Attachment
The whisk attachment is designed for aerating—whipping cream, beating egg whites, or making meringue. When used on potatoes, it whips too much air into the mixture, creating a light but often foamy or spongy texture. Worse, it can overwork the starch in the potatoes, leading to that dreaded gluey consistency.
In short: skip the whisk. It’s not the right tool for mashed potatoes.
The Dough Hook? Not Ideal
The dough hook is meant for kneading bread and heavy doughs. While it *can* mash potatoes in a pinch, it tends to overwork them quickly, especially on higher speeds. The twisting motion compacts the potatoes rather than fluffing them, which can result in a dense, pasty mash.
Stick with the paddle attachment for the best results.
Step-by-Step Guide to Mashing Potatoes in a Stand Mixer
Ready to give it a try? Here’s a simple, foolproof method to mash potatoes using your stand mixer.
1. Cook and Drain the Potatoes
Start with peeled, evenly chopped potatoes—Russets or Yukon Golds work best. Boil them in salted water until fork-tender, about 15–20 minutes. Drain them thoroughly in a colander and let them sit for a minute or two to steam off excess moisture. Any leftover water will make your mash watery.
2. Warm Your Dairy
Cold milk or cream can shock the potatoes and affect texture. Warm your liquid dairy (or a dairy-free alternative like oat milk) in a saucepan or microwave until it’s just warm to the touch—not hot. This helps the butter melt evenly and creates a smoother mash.
3. Add Butter First
Place the warm potatoes in the stand mixer bowl. Add softened butter—about 4 tablespoons per pound of potatoes. Let the mixer run on low for 30 seconds to coat the potatoes. This step is crucial for flavor and texture.
4. Gradually Add Warm Milk
With the mixer on low, slowly pour in the warm milk or cream through the pour spout. Start with about ½ cup per pound of potatoes, then add more as needed. Let the mixer incorporate the liquid for 1–2 minutes.
5. Mix on Low, Not High
Keep the speed low. High speed = overmixed potatoes. You’re aiming for creamy, not gluey. Stop the mixer occasionally to scrape down the sides with a spatula.
6. Season to Taste
Add salt, pepper, garlic powder, or herbs gradually. Taste and adjust. Remember, you can always add more, but you can’t take it away.
7. Serve Immediately
For the best texture, serve your mashed potatoes right away. If you need to keep them warm, transfer them to a covered dish and place over a pot of simmering water (a bain-marie) to prevent drying out.
Common Mistakes to Avoid
Even with the right tools, it’s easy to go wrong. Here are the most common pitfalls—and how to avoid them.
Overmixing
This is the #1 mistake. Potatoes are full of starch, and overmixing releases too much of it, creating a sticky, gummy texture. Think of it like over-kneading bread dough—it ruins the structure. Mix just until smooth and creamy. If you’re unsure, stop early. You can always mix a little more.
Using Cold Ingredients
Cold butter and milk don’t blend well with warm potatoes. They can cause lumps and uneven texture. Always use softened butter and warm dairy.
Skipping the Drain Step
After boiling, don’t skip draining and steaming the potatoes. Excess water dilutes flavor and makes mashing harder. Let them sit in the colander for a minute to dry out.
Adding All the Liquid at Once
Pouring in all the milk at once can make the potatoes too wet. Add it gradually, letting the mixer incorporate each addition. You can always add more, but you can’t take it out.
Using the Wrong Potato
Not all potatoes mash well. Starchy potatoes like Russets break down easily and create a fluffy texture. Waxy potatoes like Red Bliss hold their shape and can leave lumps. Yukon Golds are a great middle ground—creamy and flavorful.
Tips for Perfect Mashed Potatoes Every Time
Want to take your mashed potatoes to the next level? Try these pro tips.
Use a Potato Ricer First (Optional)
For ultra-smooth mash, rice the cooked potatoes before adding them to the mixer. This removes lumps and creates a fine texture. It’s an extra step, but worth it for special occasions.
Add Flavor Boosters
Mix in roasted garlic, sour cream, cream cheese, or grated Parmesan for extra richness. Fresh herbs like chives or parsley add brightness.
Keep It Warm
Mashed potatoes cool quickly. To keep them warm, place the mixing bowl over a pot of simmering water (double boiler method) or transfer to a slow cooker on the warm setting.
Make Ahead (With Care)
You can make mashed potatoes a day ahead. Store them in an airtight container in the fridge. Reheat gently on the stove with a splash of milk to restore creaminess.
Go Dairy-Free
Use plant-based butter and milk for a vegan version. Oat milk and coconut oil work especially well for a rich, creamy texture.
Is a Stand Mixer Better Than Other Methods?
So, how does a stand mixer compare to traditional mashing tools?
Hand mashing gives you control and a rustic texture, but it’s time-consuming and tiring. A potato ricer delivers silky-smooth results but requires cleanup and can be slow for large batches. A food processor? Fast, but risky—it can easily overmix and turn potatoes gluey.
A stand mixer strikes a great balance. It’s faster than hand mashing, less risky than a food processor, and handles large quantities with ease. Plus, it frees up your hands for other tasks.
For more on how to get the most out of your stand mixer, check out our Ultimate Guide Of Stand Mixer In Kitchen—it covers everything from attachments to maintenance.
Final Thoughts
So, can you mash potatoes in a stand mixer? Yes—and you should! It’s a smart, efficient way to make creamy, delicious mashed potatoes with minimal effort. Just remember: use the paddle attachment, keep the speed low, warm your ingredients, and don’t overmix.
With a little practice, your stand mixer will become your go-to tool for perfect mashed potatoes, whether you’re cooking for two or twenty. It’s one of those kitchen hacks that makes life easier—and dinner tastier.
Now go ahead, fire up that mixer, and enjoy the creamiest mashed potatoes of your life.
Frequently Asked Questions
Can I mash potatoes in a stand mixer without any attachments?
No, you need an attachment to mash potatoes effectively. The paddle attachment is best, as it gently breaks down the potatoes without overworking them. Using no attachment won’t mash the potatoes—it’ll just spin them around.
What happens if I overmix mashed potatoes in a stand mixer?
Overmixing releases too much starch, turning your potatoes gluey and sticky. This happens because the mechanical action breaks down the cell walls too much. Mix just until smooth and creamy to avoid this.
Can I use a hand mixer instead of a stand mixer?
Yes, a hand mixer can work in a pinch, but it’s harder to control and may not handle large batches as well. A stand mixer offers more stability and power, making it the better choice for mashing potatoes.
Do I need to rice the potatoes before using the stand mixer?
No, but ricing first gives you a smoother, lump-free texture. If you prefer a slightly rustic mash, you can skip it and mash directly in the mixer with the paddle attachment.
Can I make garlic mashed potatoes in a stand mixer?
Absolutely! Add roasted garlic cloves along with the butter before mixing. The paddle attachment will blend them in evenly for rich, flavorful garlic mashed potatoes.
How do I store leftover mashed potatoes made in a stand mixer?
Store them in an airtight container in the refrigerator for up to 3 days. Reheat gently on the stove with a splash of milk or cream to restore creaminess. Avoid microwaving, as it can dry them out.
